Hot
AnyRec Screen Recorder
Capture every moment. Record like a pro.
Secure Download
How to Record the Last 30 Seconds of Game Highlights on PC
Here are 4 efficient ways to record the last 30 seconds or longer on Windows 11/10/8/7 PC:
- Default Game Bar: Only record the last 30 seconds with limited quality and fixed screen area on Windows 11/10.
- AnyRec Screen Recorder: Capture all on-screen activities with high quality and clip them into any length.
- OBS Studio: Record and stream your gameplay with more than 30 seconds after a long learning curve.
- GeForce Experience: Use Nvidia's graphics card to replay and record the last 30 seconds on PC.
Secure Download
Secure Download
If you just make a perfect performance on your gameplay but forget launching the game recorder, you can use the default Game Bar to record the last 30 seconds on your PC. It is a neat tool that helps to record highlights of a game but only provides low performance without microphone recording. Thus, there are 3 more powerful ways to record the last 30 seconds or longer time on your Windows PC. Keep reading to learn the detailed steps and choose the suitable one for you.
Guide List
How to Record Last 30 Seconds on PC through Game Bar The Best Way to Clip Last 30 Seconds on PC [High Quality] Use OBS to Record the Last 30 seconds on Windows PC Record the Last 30 Seconds or Longer via GeForce Experience FAQs about Recording the Last 30 Seconds on PCHow to Record Last 30 Seconds on PC through Game Bar
Once you have updated your device to Windows 10/11, Game Bar is ready to use. This default feature is an excellent function for gamers to capture upcoming activities or record the last 30s on PC. But the recording quality is limited to 1080P with 30 fps, and you should note that your voice is unable to record through the microphone and the capture area is fixed to the whole screen. If you really forgot to launch the screen recorder in advance, you can choose to follow the steps below to record the last 30 seconds on PC using Windows Game Bar:
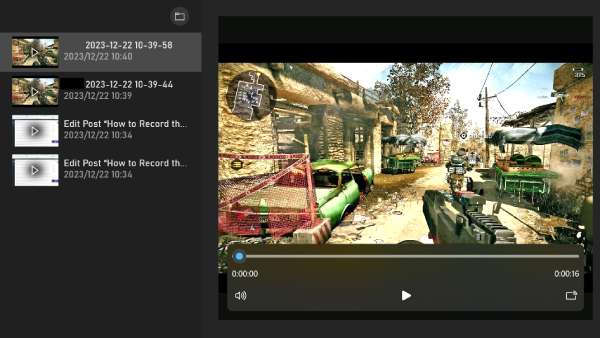
Step 1.If you didn't change the shortcut settings, you can directly press the "Windows", "Alt" and "G" buttons on your keyboard to start recording the last 30 seconds on PC. Please make sure the background recording function is turned on. Then the recordings will be automatically saved in the "Cpature" folder.
Step 2.You can also change the settings according to your need. Press the Click the "Windows" and "G" keys on your keyboard simultaneously. Click the "Settings" button from the popping-up "Widget".
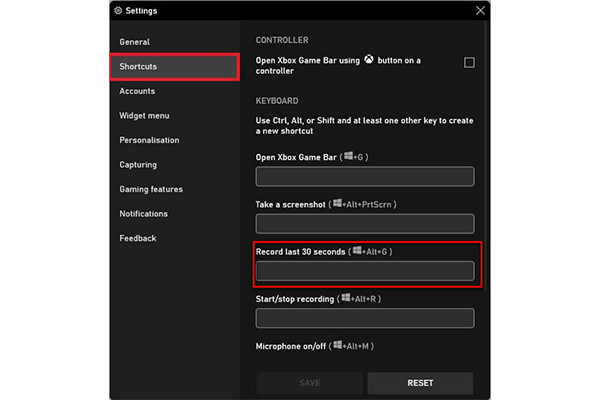
Step 3.In the "Shortcuts" settings, you can see the default hotkey for recording the last 30 seconds. Once changed to the desired combinations, click the "Save" button. Launch a game on your device and try the new hotkeys to record the last 30 seconds on your PC.
The Best Way to Clip Last 30 Seconds on PC [High Quality]
Since there are many shortcomings in using Windows 10’s Game Bar as mentioned, you can launch AnyRec Screen Recorder in advance to record and clip the last 30 seconds on PC. In this way, you can use the easy-to-use hotkeys to start and stop capturing all the highlights and clip them to save, which will ensure you will not miss any boss battle. Moreover, unlike Game Bar, it also provides webcam and microphone recordings. Set the output settings up to 60 frames per rate, high-quality resolution, and choose the desired output format to start recording the last 30 seconds or longer on Windows PC now.

Able to clip the recordings with the last 30 seconds or longer as you like.
Record video, audio, game, webcam, and phone with high-quality output.
Offer different output formats, including MP4, MOV, WMV, AVI, F4V, TS, and more.
Customizable hotkeys for more flexible and effective recording while playing gameplay.
Secure Download
Secure Download
How to record more than 30 seconds on PC using AnyRec Screen Recorder:
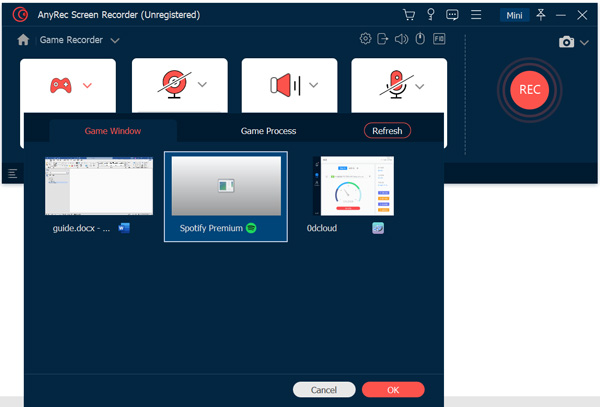
Step 1.Launch AnyRec Screen Recorder and click the "Game Recorder" button. Click the dropdown menu and select the desired game window to record. In this way, you can easily record Minecraft, LoL, Fortnite, Overwatch, etc.

Step 2.After that, you can switch the "System Sound" and the "Microphone" toggle buttons to include your voice and the computer audio. Once done, click the "REC" button to start recording the last 30 seconeds on Windows PC.
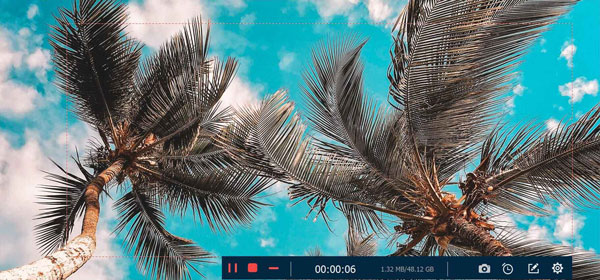
Step 3.During gameplay and recording, a widget menu is on your screen, providing practical tools such as pause, stop, minimize, set a schedule, etc. It also allows you to take a screenshot using the "Snapshot" button.
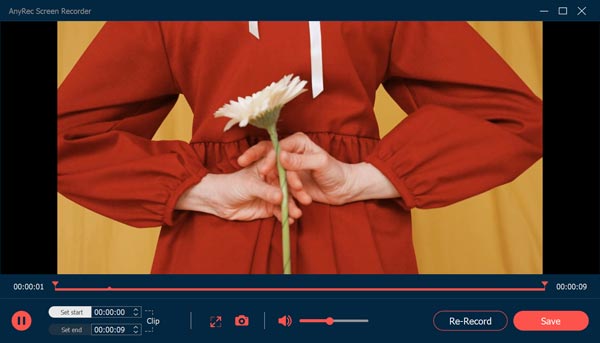
Step 4.Once you click the "Square/Stop" button, trim the recorded gameplay with the last 30 seconds or longer on Windows. Choose the right designated folder path and click the "Save" button to confirm the changes.
Use OBS to Record the Last 30 seconds on Windows PC
Besides the default Windows Game DVR, you can also use OBS - a professional screen recorder to capture the last 30 seconds on PC and even stream you gameplay at real time. It also provides many additional functions like recording effects, adjustable hotkeys, screen editing, etc. But it's relatively difficult for you to use, so follow the steps below to record the last 30 seconds on Widnows PC:
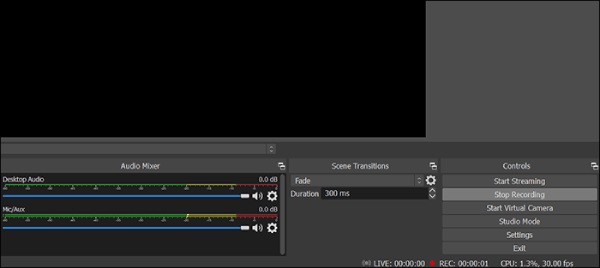
Step 1.Launch OBS Studio on Windows 11/10/8/7, and click the "Add" button under the "Source" tab. Then, click the "Display Capture" button to select the gameplay you want to capture.
Step 2.Click the "Start Recording" button at the lower-right corner, and you can stop it at any time. After that, click the "Edit" button to trim the recording length to 30 seconds and add more effects.
Record the Last 30 Seconds or Longer via GeForce Experience
Like Windows Game Bar, GeForce Experience also supports recording the last 30s on Windows PC with the replay function. Even you forgot to launch the recording in advance, you can replay the highlights and record them from now on. But this function is only available on the computer with Nvidia's graphics card, and this way may take long time to finish. If you don't care about the fewer features provided by GeForce, learn the detailed steps to record the last 30 seconds in the following:
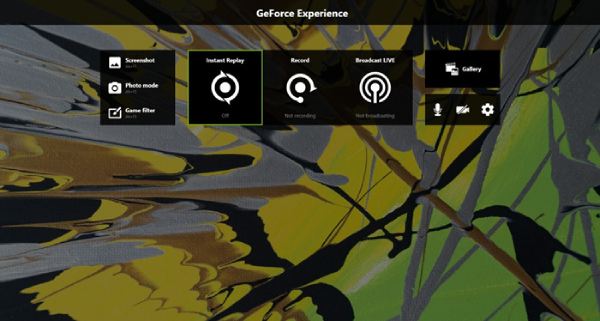
Step 1.If your computer are using Nvidia's graphics card, you can directly press the "Alt" and "Z" buttons to launch this screen recorder.
Step 2.In the popping-up windows, you can enable the "Instant Replay" function and press the "Alt" and "F10" keys to start recording the last 30 seconds on PC.
FAQs about Recording Last 30 Seconds on PC
-
How many hours can I use Game Bar to record longer than 30 seconds?
When you turn on the Game Bar, and it is on background recording, it will record up to 30 minutes only, and it will turn off automatically. However, you can still configure the settings to set up the Game Bar to one, two, or four hours of screen recording.
-
Where do the Game Bar recordings go?
After you record the last 30 seconds on your PC, you can find all your Game Bar’s recorded video clips within the User folder under the Video then the Capture folder. The output format should be MP4 file type.
-
How to reset Game Bar when it is not properly working?
For you to reset Game Bar, you need to go to the Settings. Click the Apps option from the main interface, then look for Xbox Game Bar. Scroll down and click the Reset button. Resetting the game will take a while. Once it is done, rerun the Game Bar to see if its works.
Conclusion
How to record the last 30 seconds on a PC? For sure, you know how the best thing with Game Bar and how it works as a proper function on Windows. But to record more than 30 seconds on PC and capture all highlight, AnyRec Screen Recorder is a good alternative for any recording concerns. Enjoy the best experience of free features from AnyRec!
Secure Download
Secure Download
Related Article
About Our Author


