
Content
How to Convert Video/Audio with AnyRec Video Converter
Follow this guide to convert videos and audios on Windows and Mac with AnyRec Video Converter. There is no maximum file size limit. So, you can batch convert media files with 120x faster speed offline.Step 1: Download and Install
Download and install AnyRec Video Converter on your computer.Step 2: Import Your File
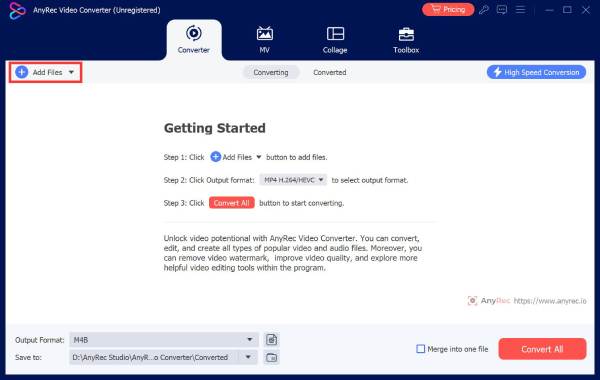
Once you launch AnyRec Video Converter, you can get the simple guide to learn the 3 steps to start converting. Just follow the steps to go on.

Later, you can click the Add Files button to import your video or audio files. You can also drag and drop a batch of files into the main interface for quick adding.
Step 3: Set the Output Format
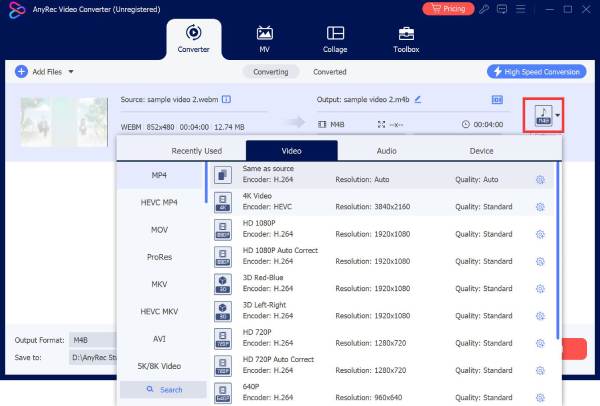
Click the Video Format drop-down list on the right side of you added video/audio files to see all the available output formats.
Convert Video
In the default Video section, you can select the output video format from the left pane. No matter you want to convert VOB to MP4, convert iMovie to MP4, and deal with other video conversions, you can get the target video format.
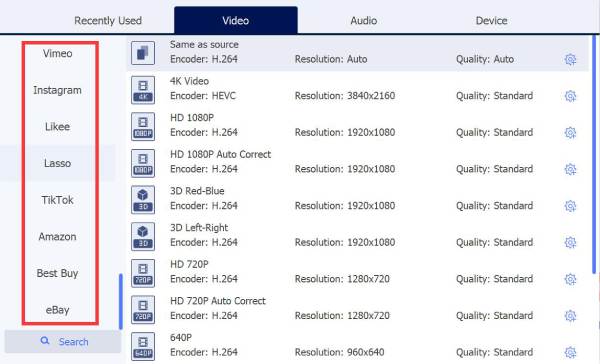
If you want to convert video to TikTok, Instagram, eBay, YouTube, and many other popular platforms, you can also get satisfying choices.
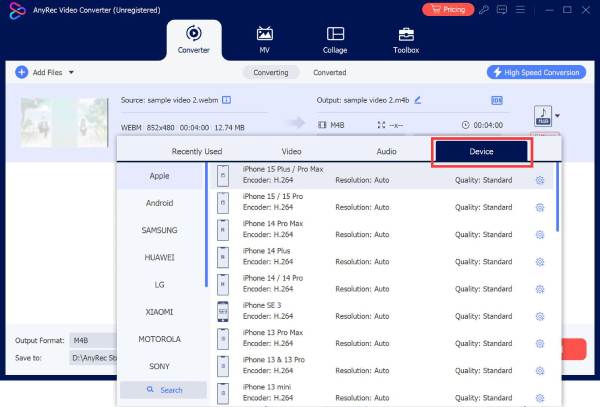
Or you can click Device to convert video to Apple iPhone 17, Android, Samsung, LG, Sony, and other devices directly.
Convert Audio
Switch to the Audio section to get all available output audio formats. You can convert FLV to MP3, convert M4A to WAV, and more to audio on Windows. Scroll down the left-click pane to find which audio format you need.

Step 4: Adjust Output Settings
You can get multiple pre-made profiles after selecting the output format. If you want to make further changes, just click the Custom Profile button with the gear icon. It locates the right side of this format profile.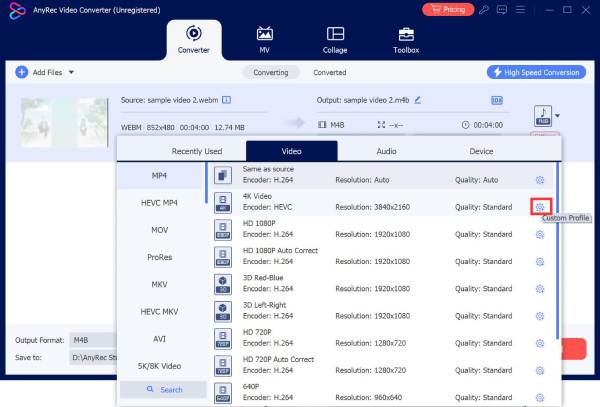
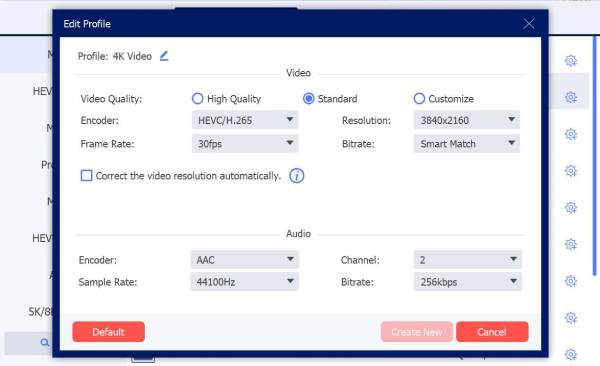
Edit Video Profile
In the Edit Profile window, you can adjust both video and audio settings, including video quality, encoder, resolution, frame rate, bitrate, channel, and sample rate. Click Create New to make further changes.
Note: If you are not sure about the video resolution, you can just tick the Correct the video resolution automatically> button to avoid quality loss or black edges.
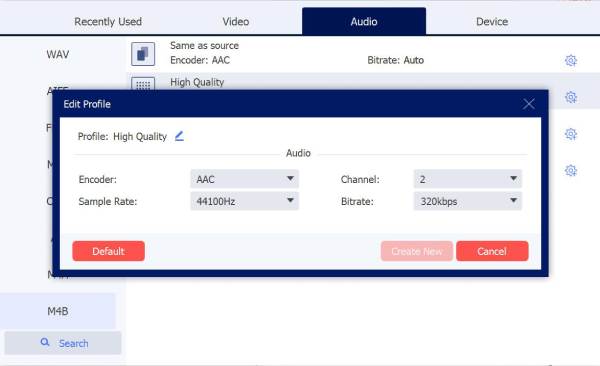
Edit Audio Profile
In the Edit Profile window, you can adjust both video and audio settings, including video quality, encoder, resolution, frame rate, bitrate, channel, and sample rate. Click Create New to make further changes.
Step 5: Convert Video/Audio
Click Convert All to complete the conversion. The progress bar will show you the real-time video conversion process. After that, the destination folder will automatically pop up on your computer.
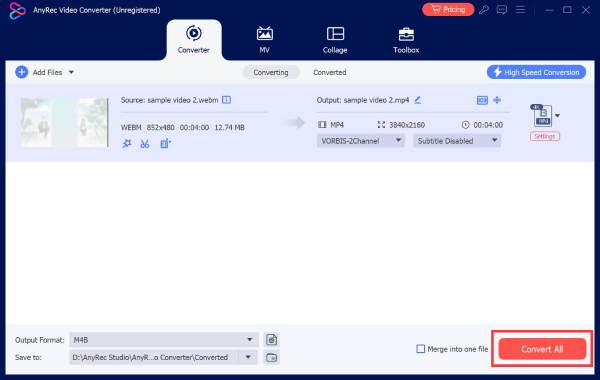
Or you can click Converted to get all converted files. Click the Open Folder button to quickly find the certain media file.
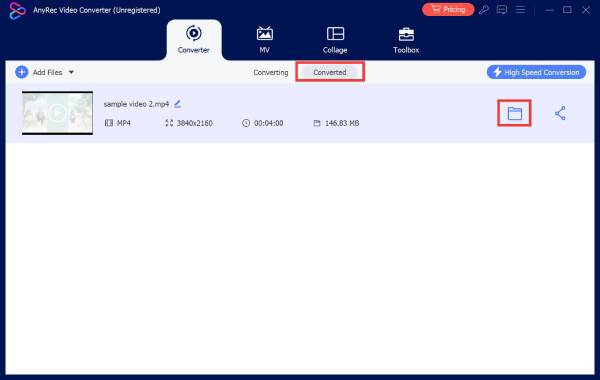
You can also click the Share button to upload the converted video to YouTube, Facebook, Twitter, Instagram, or Vimeo directly.


