How to Use Snip on Mac Properly: A Step-by-Step Guide
Snipping on a Mac is a very convenient action that helps you save important content on your Mac at any time. Even though you might be aware of and have already used the screenshot function of Mac, you might not be aware that Mac offers various default screenshot methods to help you take specific screenshots on your Mac in the way you desire. If you still don't know how to operate these screenshots, this guide will provide you with comprehensive assistance.
Guide List
For Different Scenarios: Methods of Snipping on Mac [Detailed Steps] Reliable Snipping Tools on Mac FAQs About Snipping on a MacFor Different Scenarios: Methods of Snipping on Mac
When it comes to snipping on a Mac, macOS provides several built-in snipping methods, each designed for a specific capture scenario. Using the appropriate screenshot method in particular scenarios can help you complete tasks more efficiently and obtain results that meet your requirements at the same time.
1. Snip on Mac Using Grab (Screenshot Utility)
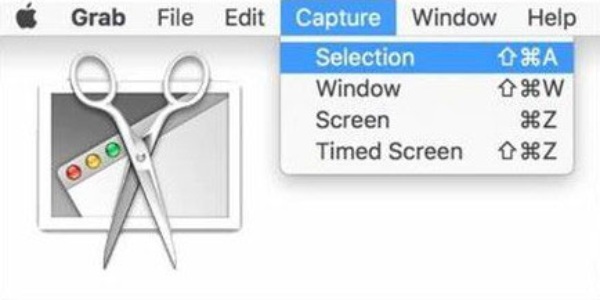
For a long time, the screenshot function of Mac has been achieved through Grab. However, after the recent update, this default function has been integrated into the "Screenshot" feature. You can access this tool through Spotlight Search and then take a detailed look at it. In this tool, you can freely choose where to snip on your Mac, whether it's the entire screen or a specific area.
2. Shift + Command + 3 - Capture the Entire Screen

If you want to quickly capture the entire screen for the current activity on your Mac, the most convenient solution is to use the "Shift + Command + 3" shortcut. By simply pressing them together, you can immediately save the current content without missing any vital information.
3. Shift + Command + 4 - Capture a Selected Area

Sometimes, the content you need to snip on a Mac might only be a portion of it. Considering that some parts might affect the key points of the content or be inconvenient to display. At this point, you can also use the shortcut keys to select a specific area for taking a screenshot. When you press this key combination, the screen activity will temporarily stop for a moment, allowing you to choose the content of the previous moment to take a screenshot of a specific area.
4. Shift + Command + 5 - Advanced Screenshot Options

This screenshot shortcut on Mac opens a control panel for more flexible snipping on a Mac. When you use this shortcut key combination to open the tool, you will find that you are provided with a series of options to complete the task of taking screenshots on your Mac. In addition, you can also set up a series of advanced presets, such as choosing the location for screenshot saving and even setting up scheduled screenshot functions.
[Detailed Steps] Reliable Snipping Tools on Mac
While macOS offers built-in screenshot features for you to snip on your Mac quickly, its features are still limited. For those who want to take a screenshot on a Mac with more professional options, a powerful tool is required. Providing more flexibility and better workflow control, the following snipping tools stand out as handy ones. Equipped with advanced built-in tools like annotations, scrolling captures, delayed screenshots, and so on, they cover both professional and lightweight use cases. You can choose one that fits your specific capture needs.
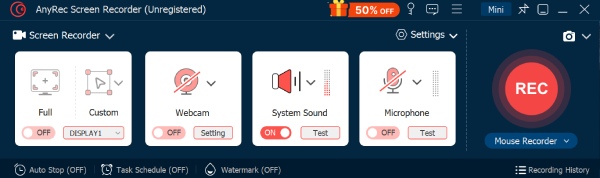
1. AnyRec Screen Recorder
AnyRec Screen Recorder is a versatile capture tool designed for high-quality screenshots and screen recordings on Mac. Snipping on your Mac is just one of its most basic functions when it comes to meeting specific requirements. What makes it particularly commendable is that it enables users to carry out further editing work after completing the screenshot task, thanks to its extensive toolbox.
- Pros
- Support high-resolution screenshots without quality loss
- Built-in annotation and quick editing tools
- Also works as a screen and audio recorder
- Cons
- Desktop installation required
- Advanced features are part of the paid version

Support custom capture of screenshots of any area on the Mac.
You can take screenshots during video recording as well.
You can further improve the quality of your screenshots through editing.
Export screenshots from the Mac in the format you need.
Secure Download
Secure Download
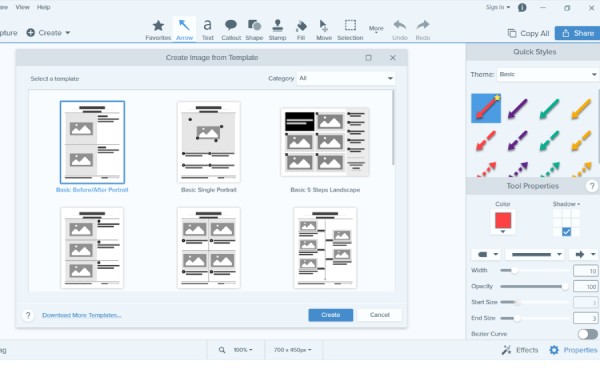
2. Snagit
Snagit is a well-known professional screenshot tool favored by educators and content creators. When it comes to snipping on a Mac, it excels at capturing scrolling pages, long documents, and complex interfaces. After capturing on your Mac, you can create polished visuals directly on the screenshot you've just taken. With powerful editing and annotation features, Snagit is considered an ideal choice for guides and training materials.
- Pros
- Scroll screenshot without missing content
- An annotation to highlight the essential details
- Stable performance for professional workflows
- Cons
- Paid software with no long-term free version
- The interface may feel complex for beginners
- Higher system resource usage
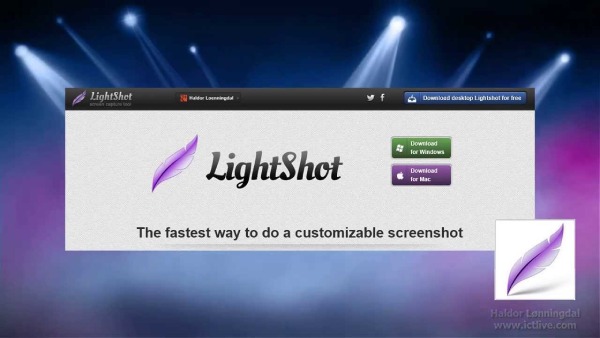
3. Lightshot
Lightshot is a lightweight Mac snipping tool focused on speed and simplicity. It allows users to capture a selected area instantly and perform basic annotations before saving or sharing. Lightshot is suitable for quick screenshots when advanced editing is not required.
- Pros
- Also works as a Mac screen recorder with audio
- Lightweight and low system impact
- Easy sharing options
- Cons
- Limited editing features
- No scrolling screenshot support
- Lacks advanced capture modes
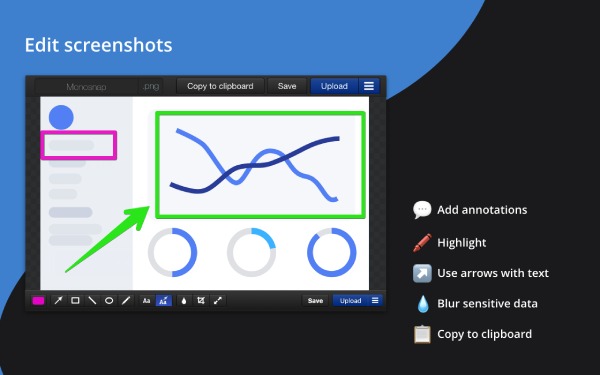
4. Monosnap
Sometimes, the reason you choose to use Snip on your Mac may not only be to save information for your own future use. Sharing these archives for the purpose of conveying messages or coordinating work is also one of the significant uses. In this situation, the importance of snipping tools for cloud sharing becomes evident. Monosnap can perfectly meet your needs. With its cloud support, you can easily use screenshots for team collaboration.
- Pros
- Built-in cloud upload options
- Supports screenshots and short recordings
- Clean and user-friendly interface
- Cons
- The free version has storage limits
- Fewer editing tools compared to premium apps
- Occasional performance lag
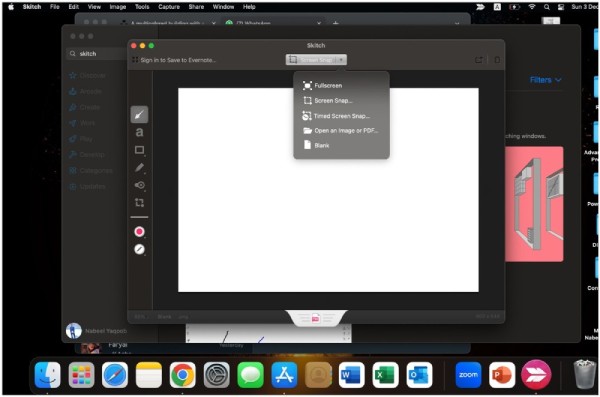
5. Skitch
Skitch, developed by Evernote, focuses on annotation-driven screenshots. It allows users to snip screens on a Mac and add arrows, text, shapes, and highlights quickly. Skitch works well for visual explanations and feedback, but keeps its feature set intentionally minimal.
- Pros
- Strong annotation and markup tools
- Crop screenshots on your Mac
- Integrates with Evernote
- Cons
- Limited capture customization
- No specialized mode for different purposes
- Fewer updates in recent versions
FAQs About Snipping on a Mac
-
1. Where are screenshots saved on a Mac by default?
By default, when you snip on your Mac, the screenshot is usually saved directly on the desktop. If you want to change the default saving location for screenshots, you can press "Shift + Command + 5" to make the change in the Options.
-
2. Can I copy a screenshot to the clipboard instead of saving it?
Yes. By holding the "Control" key while using any screenshot shortcut (for example, "Control + Shift + Command + 4"), the captured image will be copied directly to the clipboard instead of being saved as a file.
-
3. How can I edit Mac screen snipped immediately after capturing them?
macOS shows a thumbnail preview after you take a screenshot. Clicking it opens the built-in Markup editor, where you can crop, annotate, add text, or draw shapes before saving or sharing the image.
Conclusion
If you still want to edit the screen snipped on a Mac further to enhance its visual effect after taking it, then you can use other professional tools to take the screenshot and immediately start editing it. For those users who value both efficiency and quality, AnyRec Screen Recorder is the most reliable choice.
Secure Download
Secure Download


