[4 Proven Ways] How to Record Videos on Mac Successfully
How to record videos on a Mac can be a confusing question for new Mac users. To ensure both beginners and advanced users get stable performance and high-quality recordings, this guide collects the most practical and 100% workable solutions. From the most powerful recorder with rich features to default macOS tools, VLC Media Player, and lightweight online services, each method is explained step-by-step so you can record videos on your Mac effortlessly and without interruptions.
Guide List
Things You Should Know Before Recording Videos on Mac The Most Powerful Way to Record Videos on Mac The Default Solutions to Recording Videos on Mac How to Record Videos on Mac with VLC Media Player Online Tools for Video Recording on MacThings You Should Know Before Recording Videos on Mac
Before starting a video recording session on a Mac, understanding several key preparations can significantly improve the final result. Factors such as available storage space, microphone and camera permissions, recording resolution, background noise, and frame rate settings all influence video quality and smoothness. A quick check of these details ensures that the recording process goes without interruptions and the captured footage remains clear, stable, and ready for editing or sharing.
Key things to check before recording
- • Storage Space: Make sure your Mac has enough internal or external storage. High-resolution videos (1080p/4K) take up a large amount of space and may stop video recording on your Mac if the disk becomes full.
- • Permissions for Camera and Microphone: Screen recorder tools must have permission under System Settings > Privacy & Security. Without it, the app may record silently or display a black screen.
- • Resolution and Frame Rate Settings: While higher resolution can provide apparent visual effects, it can increase file size and CPU usage to a great extent. So it's highly recommended that you choose relatively balanced parameters before starting to record videos on your Mac.
- • Audio Source Selection: Decide whether to capture system sound, microphone input, or both. Testing audio levels beforehand helps avoid muted or distorted recordings.
- • Background Noise and Lighting: Clear lighting and a quiet environment significantly improve overall video quality, especially if the camera is included.
- • Close Unnecessary Programs: Heavy apps running in the background may cause lag or frame drops. Closing them stabilizes performance.
The Most Powerful Way to Record Videos on Mac
For users who require professional-level video recording with the best balance of quality, performance, and customization, AnyRec Screen Recorder is the most reliable solution. It ensures smooth recording regardless of what you're capturing, all contents, including gameplay, streaming videos, webcam footage, meetings, or instructional tutorials. With flexible controls over region selection, audio sources, video format, frame rate, and exporting quality, this method provides the highest level of efficiency and stability for Mac video recording.

Clearly record all content on your Mac in its original quality.
The processes of other programs on your Mac will not be affected.
Applicable to various scenarios including videos, meetings, games, etc.
Support editing after completing the video recording on your Mac.
Secure Download
Secure Download
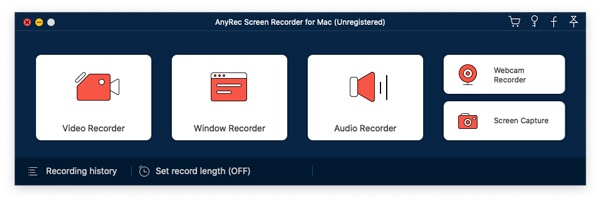
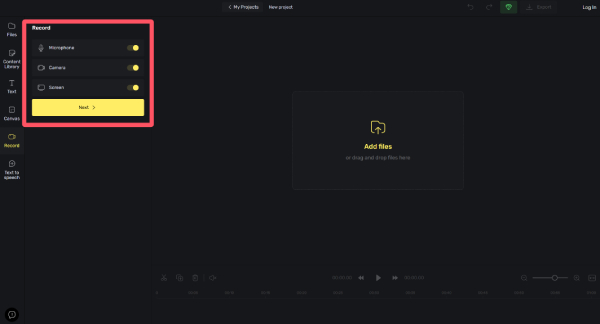
Step 1.Launch AnyRec Screen Recorder on your Mac and run the content you want to record. Click the "Video Recorder" button.
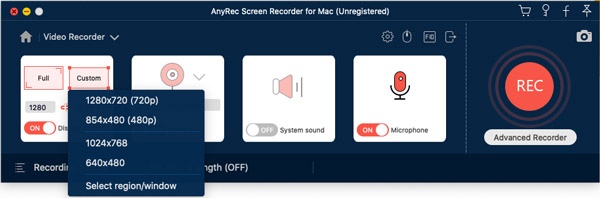
Step 2.Click the "Full" or "Custom" button to select the area you want to record on your Mac. Click the "Record" button to start recording.
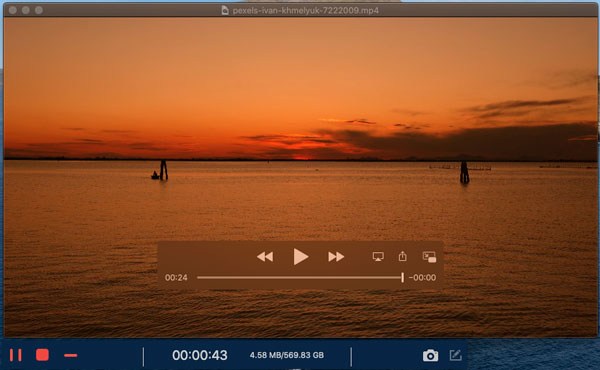
Step 3.You can set it to adjust whether the control panel appears. Once the process of recording video on Mac is finished, click the "Stop" button.
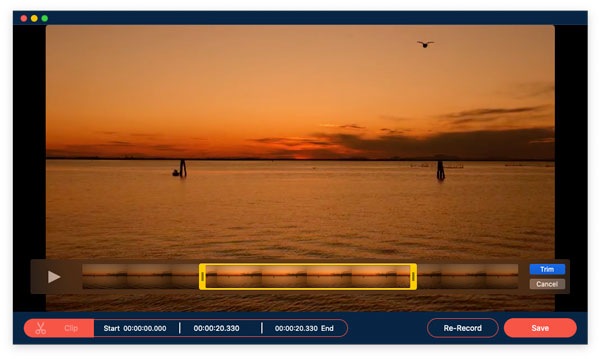
Step 4.You can edit the recording to reach the desired effect. Finally, click the "Save" button to save the recording.
The Default Solutions to Recording Videos on Mac
For users who prefer native macOS tools without extra installations, Apple actually provides two built-in ways to record videos on a Mac: the Screenshot app and QuickTime Player. Both are free, lightweight, and beginner-friendly, allowing you to record the screen and audio in just a few clicks. While neither offers advanced editing or professional enhancements, they remain reliable solutions for basic recording tasks such as tutorials, meetings, streaming content, and casual gameplay clips.
To Record Videos on Mac with the Screenshot App
The Screenshot app offers the quickest way to capture videos on your Mac with screen activities. With the Shift + Command + 5 shortcut, you can instantly access recording controls and start capturing the entire screen or a selected portion without opening any extra software.

To Record Videos on Mac with QuickTime Player
QuickTime Player remains a dependable built-in recorder for macOS users. It allows you to record the screen on your Mac along with microphone audio, making it ideal for presentations, tutorials, and video demonstrations with clear narration.
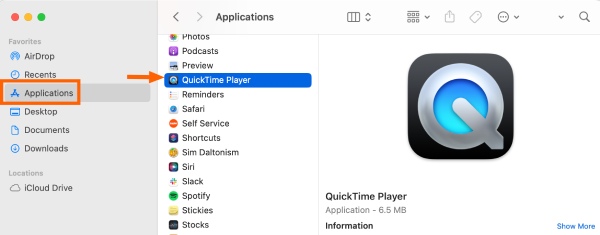
Step 1.Launch QuickTime Player on your Mac. You can find it in the "Applications" folder from Finder.
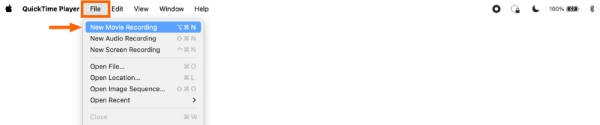
Step 2.Under the "File" tab, click the "New Movie Recording" button for a movie or the "New Screen Recording" button for the screen.
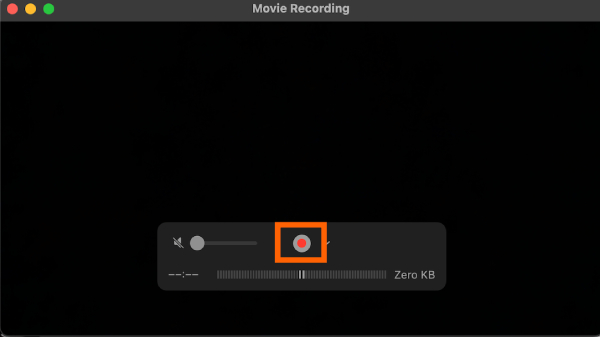
Step 3.After selecting the content for recording, click the "Record" button to start recording videos on your Mac.
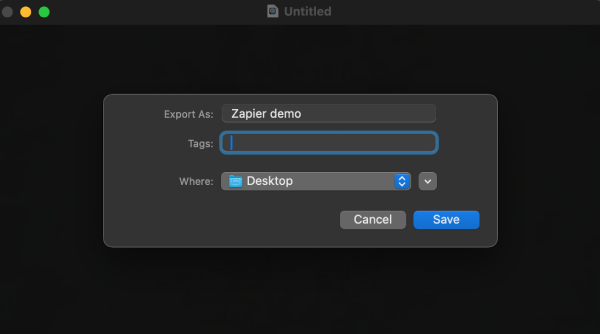
Step 4.Click the "Stop" button to stop the QuickTime screen recording on Mac. Then, under the "File" tab, click the "Save" button to save the recording.
How to Record Videos on Mac with VLC Media Player
VLC Media Player is widely known for playing various video formats, but not everyone realizes it can also record screen and camera footage. For users who already have VLC installed, it can be convenient to simply use the VLC media player to record videos on your Mac during the process of playback. Although the settings require manual adjustments, VLC media player can offer a feasible way to record videos on macOS once properly configured.
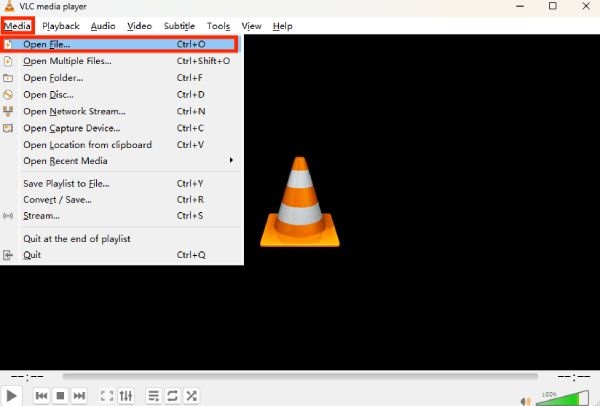
Step 1.Launch VLC media player and click the "Open File..." button under the "Media" tab to import the video you want to record.
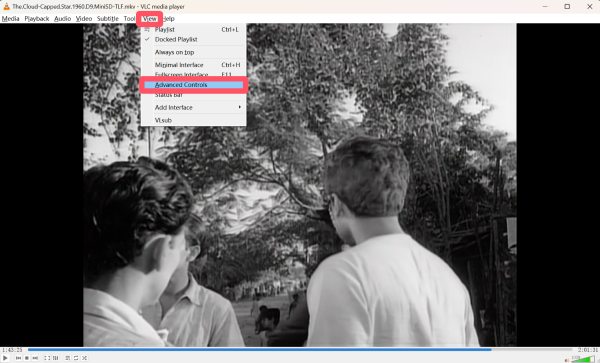
Step 2.Click the "Advanced Controls" button to summon the toolbox containing the recording tool.
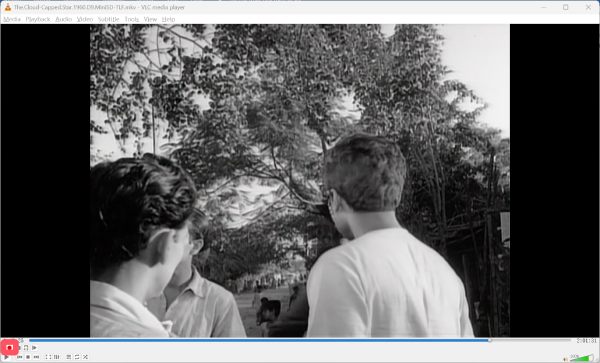
Step 3.Locate the part you want to trim on the timeline. Then, click the "Record" button. Once finished, click the "Record" button again.
Online Tools for Video Recording on Mac
For those who only want a quick or one-time recording, an online video recorder for Mac is apparently a suitable option. Without installing additional software, online recording tools deliver a simple process of recording. These web-based tools allow you to capture screen and record videos on your Mac directly from the browser, making them ideal for short instructional videos, classroom tasks, and occasional recording needs. This section shows how to use these online video recorders conveniently while avoiding common performance and permission issues.
123 Online Video Recorder
If you’re searching for a quick, installation-free solution, 123 Online Video Recorder makes it possible to capture videos directly through the browser. It offers a convenient way to record the screen, webcam, or capture internal audio on Mac without downloading software. You can record videos on your Mac in seconds, following the detailed steps below:
Step 1.Navigate to the official website of 123 Online Video Recorder and click the "Start Recording" button.

Step 2.Under the "Record" tab, click to choose whether you want to record with the microphone, camera, or screen.
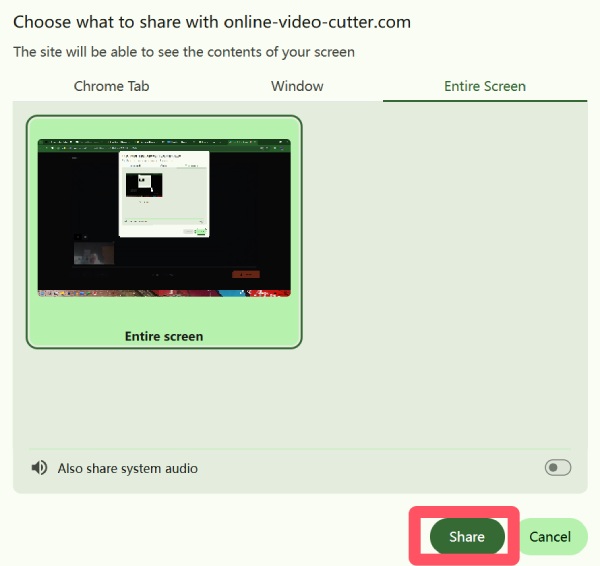
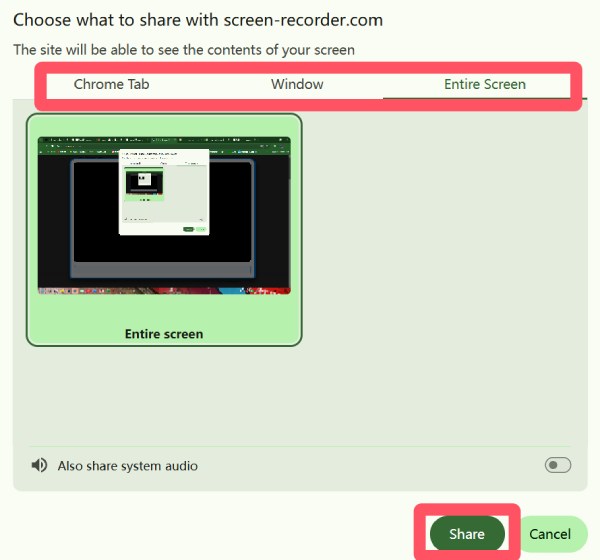
Step 3.A window will pop up, asking you to choose the area for recording. Choose and click the "Share" button.
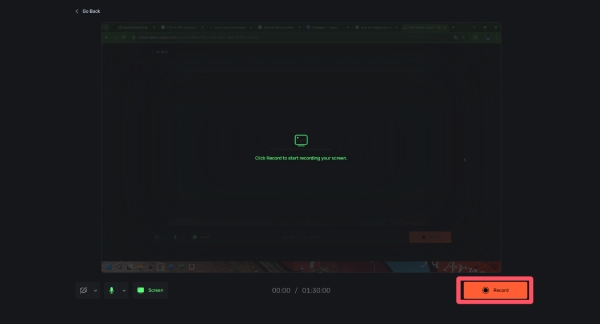
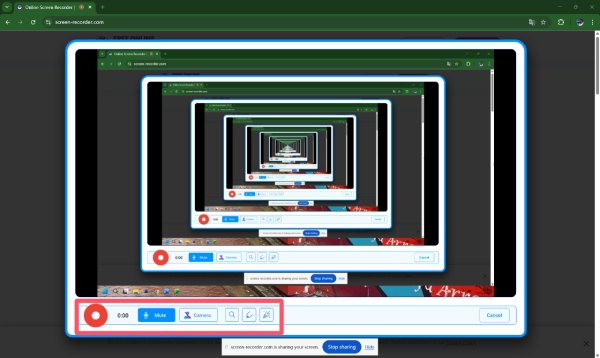
Step 4.Click the "Record" button to record video on your Mac. And click the "Stop" button when you finish.
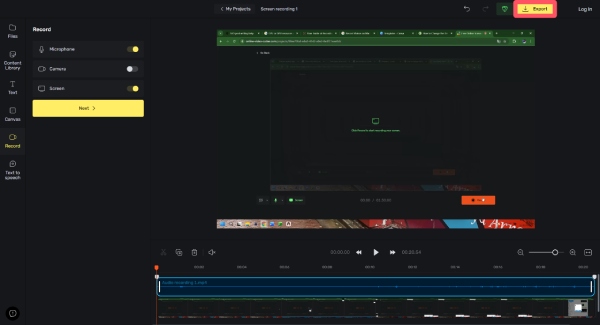
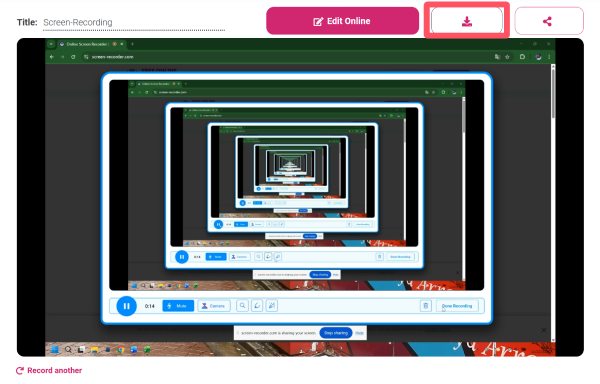
Step 5.Click the "Done" button and return to the main interface of 123 Online Video Recorder. Finally, click the "Export" button.
ScreenPal
If polished and share-ready videos are the goal, ScreenPal provides an effortless online recording and editing experience. Its built-in recorder lets users capture content and enhance it instantly with templates, captions, and effects, which is especially helpful for tutorials, presentations, and social media projects.
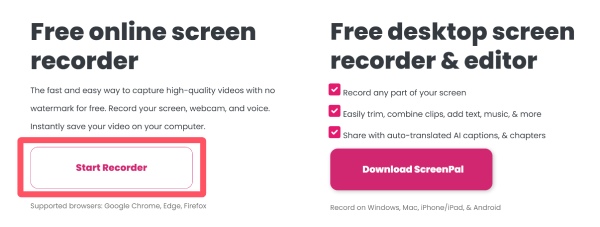
Step 1.Navigate to the official website of ScreenPal and click the "Start Recorder" button to open the tool.
Step 2.Click to choose the area you want to record in the pop-up window. Click the "Share" button when you finish selecting.
Step 3.When prepared, click the "Record" button to start recording videos on your Mac. Click the "Done Recording" button when it's over.
Step 4.In the pop-up window, click the "Download" button to download the recording to your Mac.
Conclusion
Recording videos on a Mac has become easier than ever; no matter what tools you choose, there's always a way out. If you want consistent performance and high-quality output without limitations, AnyRec Screen Recorder remains the most dependable choice to record videos on your Mac. With the right approach, anyone can record smooth and clear videos on a Mac effortlessly.
Secure Download
Secure Download


