9 Photo Enlargement Tools and Tips for Best Results
Nothing holds your content back quite like a pixelated image. It can be for large-scale printing or for reducing a blurry snapshot from your phone. Photo enlargement is a game-changing skill. Today's technology offers many ways to upscale instead of stretching and losing details. This post dives into the top 9 photo enlargers, alongside tips to maintain clarity across different photo sizes. Make sure your images remain crisp after everything!
Guide List
Tips for Using Different Photo Sizes The Ultimate Way to Enlarge Photos Online 1. Vance AI Image Enlarger: Massive 800% Upscaling 2. PixCut: Quick Background-Integrated Upscaling 3. Let's Enhance: Professional Print-Ready Outputs 4. Fotor: One-Click Enhancements 5. Upscale.media: Casual Users and Mobile Accessibility 6. IMG.Upscaler: Lightweight Batch Processing 7. Pixlr Super Scale: Integrated Web-Based Design 8. Magnific AI: Generative Detail UpscalingTips for Using Different Photo Sizes
Before going through picture enlargement tools, you should know that optimizing your visuals requires a solid understanding of how dimensions affect quality across different platforms. Here are some of the essential tips for using different photo sizes:
- • For social media, focus on aspect ratios. Use 1:1 for Instagram, 9:16 for Stories and Reels, and 16:9 for YouTube.
- • Use lossless image formats like PNG or TIFF for further editing.
- • For website usages, use file sizes under 200 KB. Because large dimensions can slow down page loading.
- • When transferring from digital to physical, make sure your file is at least 300 DPI. Thus, it won't look blurry if printed.
- • If you need to zoom in on certain parts, enlarge an image using an AI tool first, preventing the final result from looking pixelated.
The Ultimate Way to Enlarge Photos Online
If you find yourself with an image that's simply too small, use AnyRec AI Image Upscaler for a high-fidelity solution. It handles low-resolution images up to 8× without stretching them. This online image upscaler eliminates the need for technical expertise, letting anyone, even first-time users, achieve the best possible quality results in seconds.
- • Intelligently reconstructs pixels to make photos bigger.
- • High-speed processing without compromising the quality.
- • Smoothly handles a variety of formats such as JPG, PNG, BMP, and TIFF.
- • Simple drag and drop system that makes photo enhancements easy.
Step 1.In your preferred browser, search for the AnyRec AI Image Upscaler site. To start, click the "Upload a Photo" button on the homepage, and the AI will begin analyzing your file.
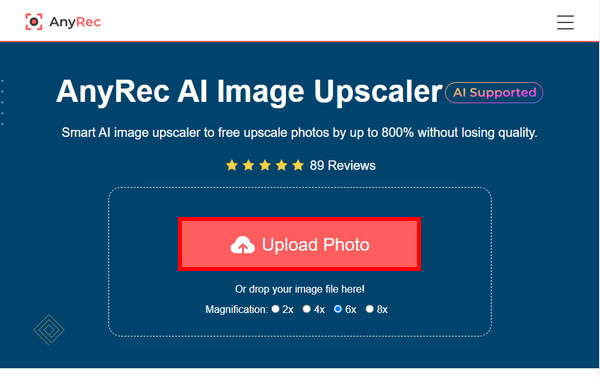
Step 2.Once it loads, you'll see a side-by-side comparison. Go to the dropdown menu to choose how much bigger you want your photo to be. Use the "Magnifier" tool to hover over specific details.
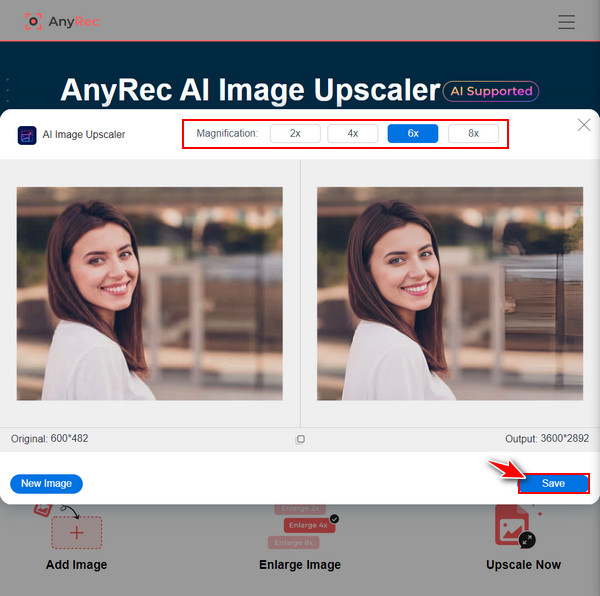
Step 3.When everything's okay, go to the final stage by clicking the "Save" button. Now, your enlarged photo will be saved to your computer.
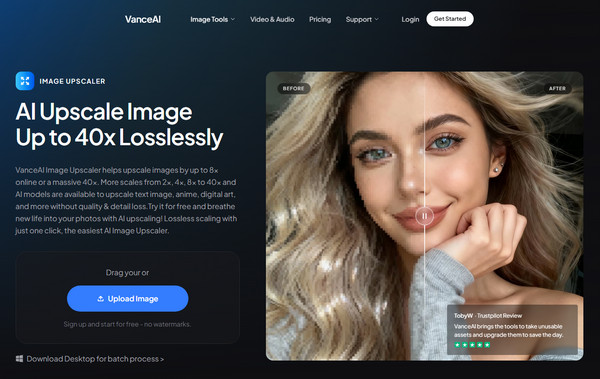
1. Vance AI Image Enlarger: Massive 800% Upscaling
VanceAI is a powerhouse for photo enlargement without a significant loss of fidelity. It is particularly effective for professional photography where clarity is non-negotiable. Also, this platform offers a simple workspace with editing features like sharpening and denoising.
- Pros
- Supports huge upscaling up to 8×; has specialized models for anime and text.
- Cons
- Some automated results need manual fine-tuning; the credit-based system is restrictive.
Steps:
- 1. Go to the VanceAI Enlarger workspace and import your image.
- 2. Choose an upscale factor from the right-hand panel.
- 3. Click "Start to Process" and wait until the AI generates the preview.
- 4. Save the result to your device.
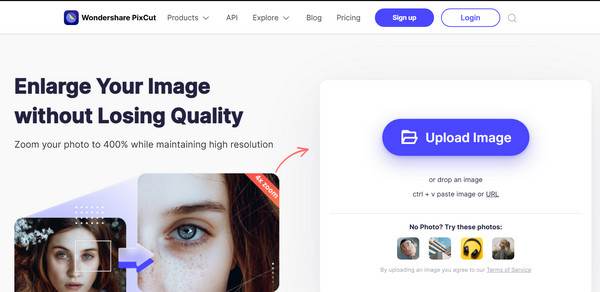
2. PixCut: Quick Background-Integrated Upscaling
Next is PixCut, an excellent choice if you want a balance between speed and quality. This photo enlarger is primarily for those who have had their backgrounds removed, ensuring crisp edges. It uses deep learning to detect missing pixels, making it ideal for creating social media posts.
- Pros
- Very fast processing times; great at keeping visual coherence on PNGs.
- Cons
- Has fewer manual adjustment sliders; the free version includes watermarks.
Steps:
- 1. Import your image into PixCut homepage.
- 2. Next, choose the "Image Upscaler" tool.
- 3. Wait for a while for the AI to analyze and enlarge the file.
- 4. Click "Download" to save your image.
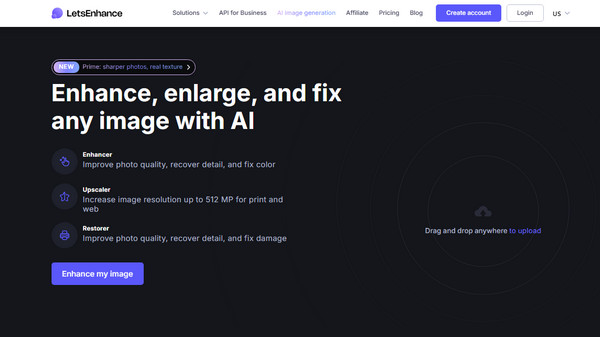
3. Let's Enhancer: Professional Print-Ready Outputs
If your project needs physical production, the gold standard for photo enlargements is Let's Enhance! This picture enhancer and enlarger has unique presets for A4, posters, and canvas, automatically calculating the needed DPI for high-quality results.
- Pros
- Has specialized Smart Enhance and Face models; precise control for DPI and pixel dimension.
- Cons
- Requires an account; high-resolution processing can be slow.
Steps:
- 1. After logging into your account, drop your select image into the workspace.
- 2. Choose an "Upscale Type" based on your project.
- 3. Then, set your target size and switch on "Enhance Face" for a portrait.
- 4. Click "Enhance" and save the file.
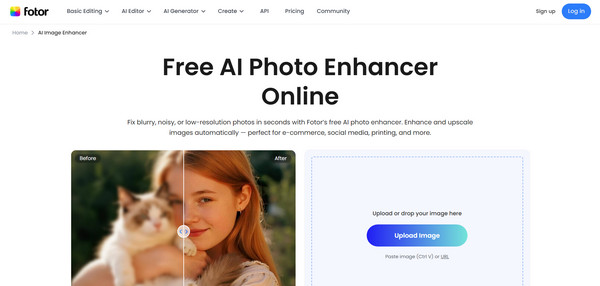
4. Fotor: One-Click Enhancements
Here's the next photo enlargement tool for you: Fotor. This all-in-one editor is perfect if you wish to fix quality issues while resizing. Aside from increasing resolution, it can balance lighting, exposure, and saturation during the process.
- Pros
- Has batch enhancement mode for up to 50 images; no sign-up needed.
- Cons
- Its interface is cluttered with ads; the maximum upscale is capped at 4x for web users.
Steps:
- 1. Upload your image into Fotor AI Photo Enhancer.
- 2. The AI will then apply improvements instantly. Choose "Increase Resolution" in the sidebar.
- 3. Determine your desired scale. Then preview the before and after comparison.
- 4. Click "Download" to save the image.
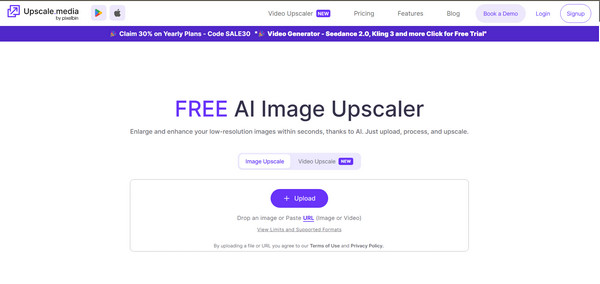
5. Upscale.media: Casual Users and Mobile Accessibility
For anyone who wants accessibility on the go, here's Upscale.media. This online photo enlarger provides a free, well-performing solution that works very well in mobile browsers. It is designed to be lightweight and fast, with up to 4x upscaling available without complex settings.
- Pros
- Fully free to use with generous daily limits; can handle JPEG artifacts very well.
- Cons
- No advanced features like texture generation; output resolution is limited.
Steps:
- 1. Visit the website, then click the "Upload Image" to import pictures.
- 2. Decide the "Upscaling" level and turn on the "Enhance Quality" switch.
- 3. Please review the enlarged image in the viewer.
- 4. Click "Download image" to save it to your computer.
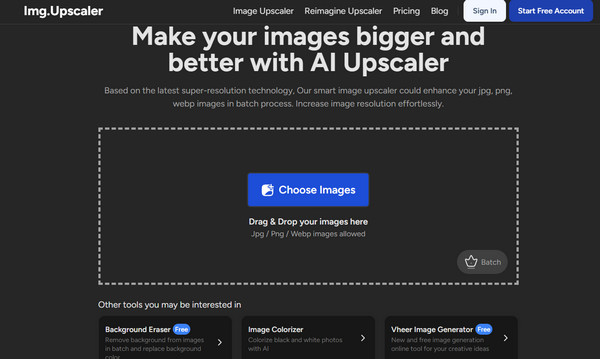
6. IMG.Upscaler: Lightweight Batch Processing
Meanwhile, if you handle a folder of images, IMG.Upscaler is a dedicated photo enlarger that centers on resolution boosting. It features a Clean & Clear algorithm that removes the graininess from old digital photos. It is a simple choice for storing old projects.
- Pros
- Focuses on noise reduction; offers a very clean and easy-to-navigate interface.
- Cons
- Limited to JPG and PNG; free credits refresh slowly.
Steps:
- 1. Drag your selected images into the upload area.
- 2. Pick your desired AI model based on whether your photo is a portrait or a landscape.
- 3. Afterward, click "Start All" to start the phone enlarging process.
- 4. Download the zipped file once done.
7. Pixlr Super Scale: Integrated Web-Based Design
Switching back to creative suites, Pixlr Super Scale is a photo enlargement that lets you jump straight into design after you enlarge an image. It has advanced neural networks to make sure that text and graphic elements within a phone remain sharp.
- Pros
- Smooth integration with text and element tools.
- Cons
- Resource-heavy for older systems; features are locked behind a subscription.
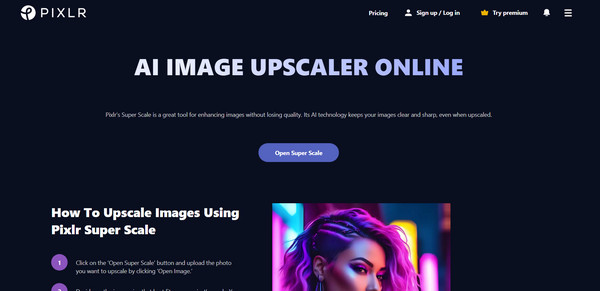
Steps:
- 1. Inside Pixlr, select "Super Scale" from the main menu.
- 2. Later, upload your file and determine the magnification level.
- 3. Optionally, you can use the "Auto Adjust" feature to balance colors quickly.
- 4. Save the file or edit more via "Continue Editing".
8. Magnific AI: Generative Detail Upscaling
At last, for the most advanced results, Magnific AI here provides the cutting edge of generative upscaling. Unlike other photo enlargement tools that preserve the original pixel, this tool uses sophisticated AI to imagine and add new textures such as skin pores, cinematic lighting, and fabric weaves.
- Pros
- Unmatched level of detail; can fix anatomical errors in your AI art.
- Cons
- Pricey compared to other options; results sometimes differ too much from the original.
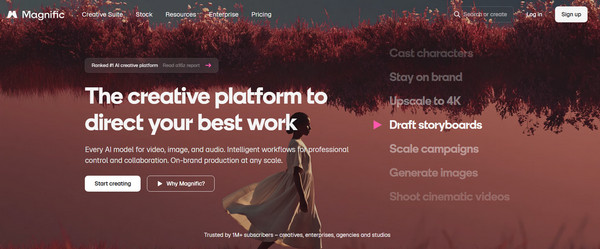
Steps:
- 1. Once your image is uploaded to the Magnific dashboard, select a "Mode".
- 2. Next, adjust the "Creativity" slider to see how much new detail the AI should apply.
- 3. You can generate many versions and save the best one.
Conclusion
By following the right sizing tips and taking advantage of the AI-driven technology of the online photo enlargement tools, you no longer have to settle for your original file size. Among all the tools for enlarging photos, the top recommendation will be the AnyRec AI Image Upscaler. For a balance of simplicity, power, and no cost, this tool lets you boost resolution by up to 8× with just a click. Enjoy high-quality, watermark-free results that save every fine detail of this amazing online solution for your next project.
More Related Articles
About Our Author


