How to Resize an Image in Photoshop with 3 Different Methods
Adobe Photoshop is famous for its professional editing features, including retouching for a total transformation of photos. But if you are new to the tool, how to resize an image with Photoshop? Resizing images is an ordinary skill for photo editing, allowing you to maintain the quality while minimizing the file size. But there are also different ways to do it. Do not worry about it would be complicated. This post will guide you to resize images in Photoshop with clear steps.
Guide List
Part 1: Use the Image Size Tool to Adjust the Width and Length Part 2: Change the Image Resolution to Compress the File Size Part 3: Expand the Canvas Size of the Image to Let it Fit in Part 4: Use AnyRec to Resize Image File Online with High Quality Part 5: FAQs about Resizing Images in PhotoshopPart 1: Use the Image Size Tool to Adjust the Width and Length
The first method to resize an image without losing quality in Photoshop is the most commonly used. The Image Size tool consists of many features to resize the file. Follow the steps below to learn how to use the Image Size tool in Photoshop.
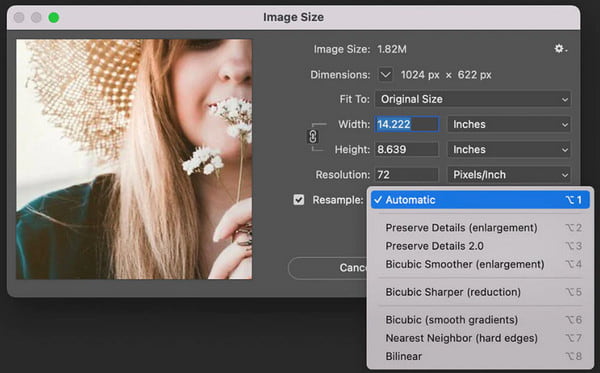
Step 1.Open Photoshop and open an image. From the top menu, select the "Image" button. Choose the "Image Size" option from the drop-down list. Estimate the width and height in pixels you need to use for the picture.
Step 2.Enabling the Resample option will stretch the image as you resize it, but remember that it will cause quality loss. But if you disable this feature, the program will rearrange the existing pixels automatically. The width and height are smaller, but the dimensions and image size will remain unchanged. Click the "OK" button to apply the changes.
Part 2: Change the Image Resolution to Compress the File Size
This method allows you to set the image resolution, which enables you to resize images without losing the quality of Photoshop. Here is the simple step on how to do it.
Step 1.Go to the "Image" menu and click the "Image Size" option. When the dialog box appears, it consists of adjustments for the image pixels assigned to each inch. Toggle off the "Resample" option to preserve the original image pixels.

Step 2.Then, input the numbers of pixels at 300 in the "Resolution" field. The width and height will also change to match the resolution. Click the "OK" button to apply the changes. Proceed to save the output on your computer or share it on social media.

Part 3: Expand the Canvas Size of the Image to Let it Fit in
Adding more borders is the last method to resize an image without losing quality in Photoshop. This part will show you to add frames, text, or graphics around your picture. Follow the instructions below on how to do it:
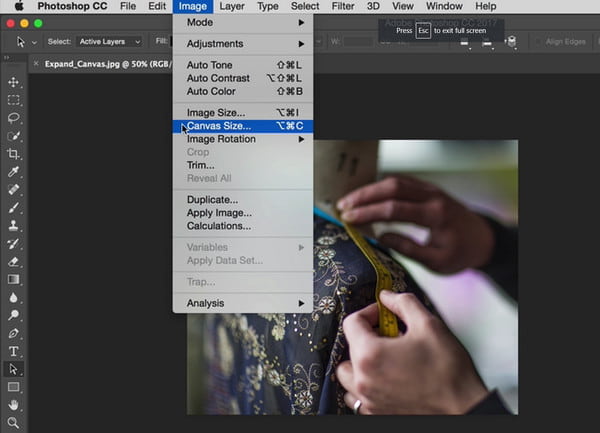
Step 1.From the Photoshop interface, click the Image button from the top menu and select the "Canvas Size" option to open the dialog box. The popup contains the current canvas sizes and the option to change them.
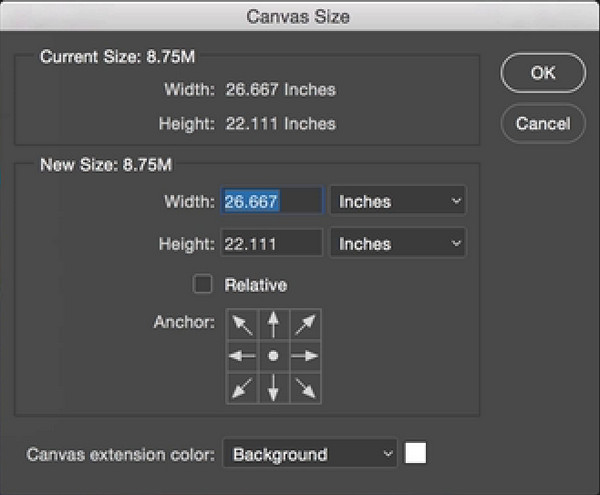
Step 2.Open the Width and Height drop-down menu to input new values in inches, percentages, and others. Once you change one of these options, the others will automatically follow to match the adjustments. Use the Anchor feature to distribute the new pixels around the image. Afterward, save the output on your computer.
Part 4: Use AnyRec to Resize Image File Online with High Quality
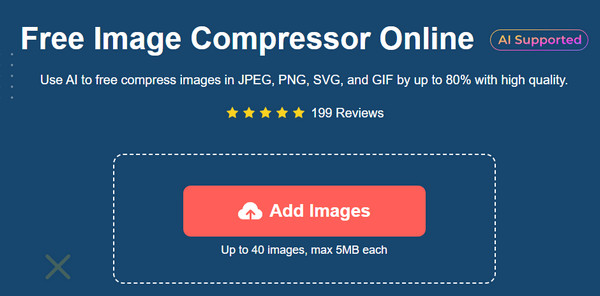
Do you need a fast way to resize your photos? AnyRec Free Image Compressor Online is the best alternative tool to resize images on Photoshop. It is online based with AI technology support to have high-quality output. It supports various image formats, including JPEG, SVG, PNG, GIF, etc., and enables to upload of up to 40 files. Visit the website and use the free tool without registering or signing up!
Features:
◆ Support batch image compression in JPG, PNG, SVG, and GIF formats.
◆ The maximum file size limit is 5MB each.
◆ No watermark attached in your compressed pictures.
◆ Protect the user’s privacy by deleting the compressed images automatically.
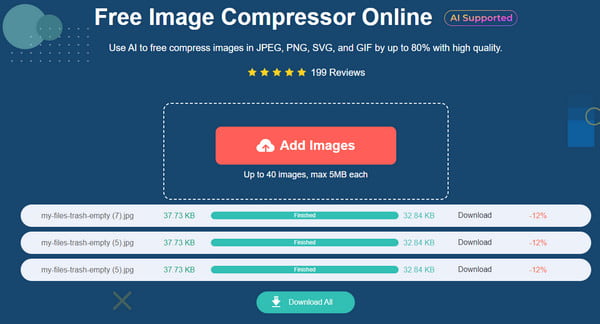
Step 1.Click https://www.anyrec.io/free-online-image-compressor/ to visit the website. Click the "Add Images" button and browse for the picture in your device’s folder. Confirm the selection by clicking the "Open" button.
Step 2.The online image compressor will automatically compress the uploaded images. Click the "Add Images" button again for more uploads. Once the compression is done, you will see the "Finished" word on the parameter.
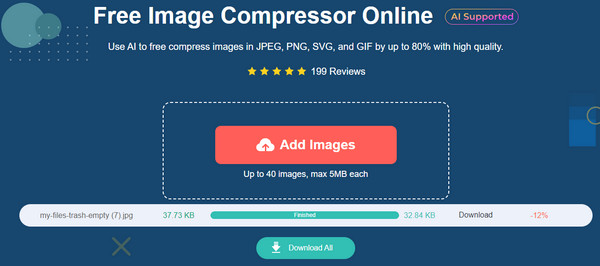
Step 3.After all images are compressed, the percentage resized will show beside each photo, along with the new file sizes. Click the "Download All" button to save the outputs to your computer.
Part 5: FAQs about Resizing Images in Photoshop
-
Does resizing a photo affect the quality?
Yes. Depending on the scale you use for the photo will determine the quality. But making the image smaller will not impact the quality usually.
-
Is resizing and reducing the same?
No. Resizing a photo can affect the picture quality, but you can avoid this with other editing skills like cropping or adding borders around the image. Reducing can be compressing the file to minimize the size, which is an excellent way to share a picture to social networks with file size limitations.
-
How to enlarge photos?
While you can use Photoshop to resize images, it is hard to do it. Alternatively, AnyRec Free Image Compressor Online is the easiest way to reduce the size of photos.
Conclusion
Now that you know how to resize images without losing quality in Photoshop, you don’t need to worry about quality loss because the tool will keep the original size. Not to mention Photoshop is also an image quality enhancer that could help you increase resolution. But if you need the easiest way to reduce image file size and even compress images to 200KB, AnyRec Free Image Compressor Online is your go-to. Visit the websites for quicker image compression.
Related Articles
About Our Author


