How to Enlarge a Photo without Blur (for Print and More)
There are many scenarios that people want to enlarge a picture. You can check the following to see if you have the same problem.
- • Make a small image larger for pfp (profile picture), framing, meme, etc.
- • Enlarge or resize prints.
- • Upscale captured pictures, scanned photos, and digital photos without blurry.
- • …
All those enlarged pictures should be as clear and sharp as before. Nobody needs a pixelated photo. The good news is that you can make photos bigger while preserving details with online and professional tools. Just read and follow the steps below.
Guide List
How to Enlarge a Picture Online [Smaller Than 4096x4096 px] How to Enlarge a Picture for Printing [Larger Than 4096x4096 px] Tips for Better Photo EnlargementsHow to Enlarge a Picture Online [Smaller Than 4096x4096 px]
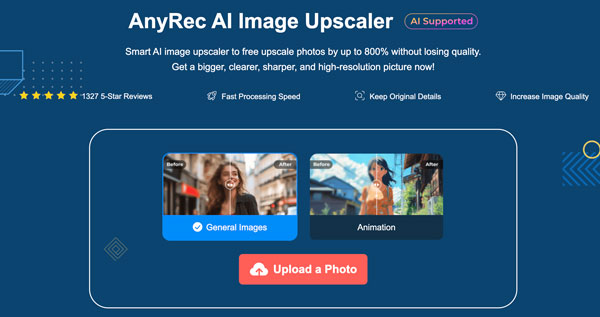
AnyRec AI Image Upscaler is your smart choice to upscale low-resolution images by 200%, 400%, 600%, and 800%. It can enhance image quality during the enlargement. You don't need to do extra things. Just upload your photo and select the image upscaling magnification. Then wait and make a larger higher-resolution picture.
- 1. Open AnyRec AI Image Upscaler on your browser. It selects “General Images” as the upscaling mode by default. If you want to enlarge an anime picture, switch to the “Animation” mode instead.
- 2. Choose the image enlarging magnification from 2x, 4x, 6x, and 8x. This AI-powered photo enlarger can enhance and zoom your image in seconds.
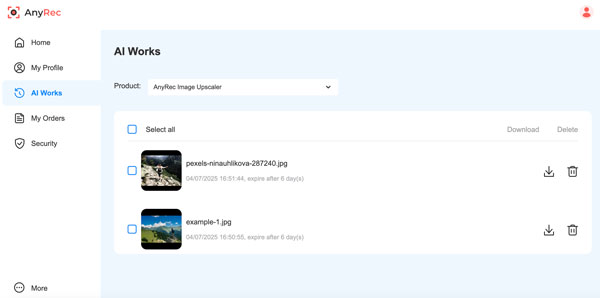
- 3. Hover your mouse on the original image. You can compare any image detail in the before and after preview. Click the "Save" button to rescale images online. You can click the "History" button to check all uploaded images in 7 days.

How to Enlarge a Picture for Printing [Larger Than 4096x4096 px]
To enlarge an image to print without blur, 300 DPI is recommended. Because lower DPI (< 150 DPI) may cause pixelation. Now, you can calculate the print size by dividing pixel dimensions by 300. For example, if you want to print a picture at 8x12 inches at 300 DPI, you need to enlarge this picture in full quality at 8 inches x 300 = 2400 pixels.
Now, it's time to pick up a photo upscaler. AnyRec AI Image Upscaler can handle photo enlargements up to 4096x4096 px. If your target picture is large, then you can use Photoshop, Lightroom, GIMP, Paint, Photos, and other image resizer software for large photo prints.
- 1. Open Adobe Photoshop. Upload your picture into it. From the "Image" top dropdown menu, you can click the "Image Size" option.
- 2. Uncheck the "Resample" option. Select "Preserve Details (enlargement)". Later, set "Width" and "Height" for your print manually. Make sure to adjust "Resolution" to 300 Pixels/Inch.
- 3. You can fine-tune this image by using the "Reduce Noise" slider. Then click the "OK" button to resize a picture.
- 4. Your image may appear soft after the enlargement. You can enhance image sharpness by using Filter, Sharpen, and Unsharp Mask options. Moreover, you can improve photo quality with other Photoshop editing tools and plugins.
- 5. After editing, click the "File" button at the top. Click the "Save As" option. In the export dialog, select the photo format as JPEG, TIFF, PNG, or other print-friendly image formats.

Tips for Better Photo Enlargements
- • To get high-quality upscaled images, you can use an AI photo upscaler and enhancer for resizing, such as AnyRec AI Image Upscaler. Or you can sharpen images to retain clarity manually.
- • It is suggested to upscale a picture several times (2x larger, then do 2x larger again.) instead of a single big jump.
- • If you want to enlarge a printed photo, you can scan this picture in 300 DPI and larger dots per inch. It would be better if you could use a photo restore tool to fix imperfections. Later, use an AI photo enlarger or Photoshop to do photo enlarging.
Conclusion
No matter whether you want to enlarge a picture for printing, e-commerce, design, or social media, a good tool helps. Try AnyRec AI Image Upscaler for convenience and clarity. You can make pictures bigger in higher resolution with simple clicks. As for more photo editing tasks, Photoshop can handle them better.
Related Articles
About Our Author


