Snipping Tool Windows 11: How to Use It and More Shortcuts
Thanks to the newly improved Snipping Tool on Windows 11, taking screenshots now is easier than ever due to its simplicity and built-in editing features. This tool lets you capture whatever is on your screen, and even better, Windows 11 gives you more shortcuts that allow you to open screenshot tools. That's why this guide won't only teach you how to use the Snipping Tool to take screenshots on Windows, but also introduce more alternatives for capturing all your on-screen content. Jump right in!
Guide List
How to Use the Built-in Snipping Tool on Windows 11 Powerful and Effective Snipping Tool on Windows 11 The Quick Shortcuts on Windows 11 as Snipping ToolsHow to Use the Built-in Snipping Tool on Windows 11
Windows 11 Snipping Tool provides an upgraded, unified screenshot solution with multiple capture modes. Whether you want to grab a full screen, highlight a particular area, or take a delayed screenshot, you can get related modes here.
Step 1.On your keyboard, press the "Windows + Shift + S" keys to open the Snipping Tool overlay. Then, select a capture mode from the top: Rectangular, Freeform, Window, or Fullscreen.
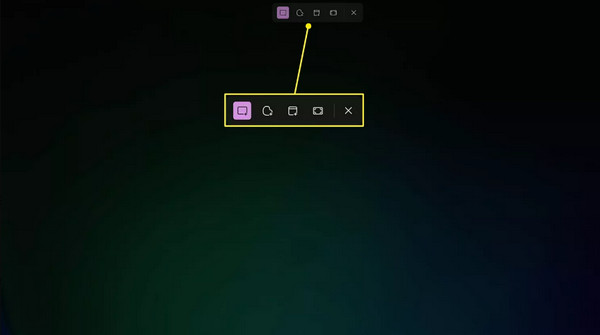
Step 2.Drag your cursor or select the window you want to capture, depending on the capture mode chosen. After that, your captured image will appear as a thumbnail in the lower-right corner; please click on it to open the editing panel.
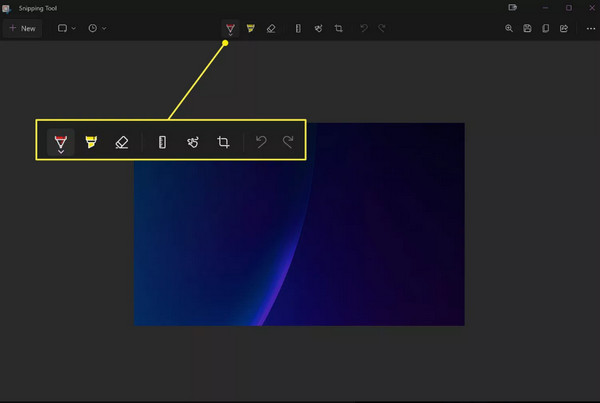
Step 3.Here, use the built-in tools to crop, annotate, highlight, or erase parts of the screenshot according to your preferences. Once done, click the "Save" button to store the image in one of your chosen locations on your computer.
Powerful and Effective Snipping Tool on Windows 11
AnyRec Screen Recorder can be your Windows 11 Snipping Tool alternative for more features. You can take a scrolling screenshot of any webpage in clicks. Moreover, you can screenshot popup menus. It also supports to set custom screenshot shortcuts. So you can screenshot anytime you want immediately. With the built-in annotations, you can add highlights, arrows, text, and more markup tools to captured screenshots. For Windows 11 users who wish for more control and better workflow tools, the program delivers a strong, feature-packed upgrade.

Capture the full screen or any chosen portion with precise control.
Assign customizable hotkeys for quick, efficient screen capturing.
Save screenshots in high resolution and adjust the quality as needed.
Export your images in multiple formats, e.g., PNG, JPEG, BMP, or GIF.
Secure Download
Secure Download
Step 1.Open AnyRec Screen Recorder on your Windows 11 computer. Click the "Screen Capture" button on the main interface to activate the screenshot tool. Your cursor will then switch to a crosshair, letting you drag and select the exact area you wish to capture.
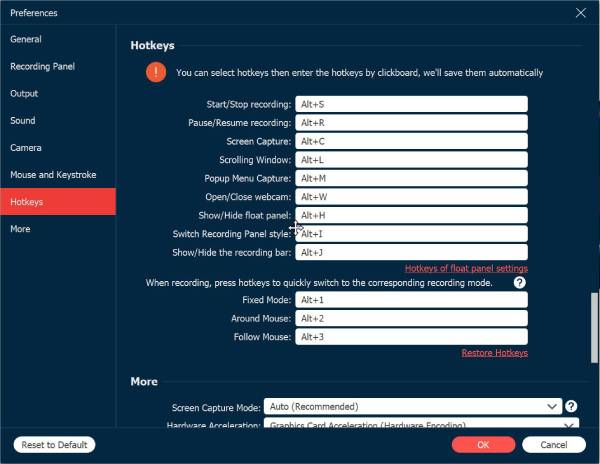
You can also trigger the screenshot function quickly using a custom keyboard shortcut found under the "Settings" section and then "Hotkeys".
Step 2.After selecting the area, the screenshot is taken immediately. The built-in editing window will appear, giving you access to tools including shapes, arrows, highlights, and text so you can edit your capture before saving.

Step 3.When you're done editing, click the "Save" button (Floppy disk icon). Choose your desired folder and image format. That's it, your high-quality screenshot is now ready to use.
The Quick Shortcuts on Windows 11 as Snipping Tools
While the Snipping Tool on Windows 11 already offers versatile shortcuts for taking screenshots, others can help you with quick snapshots, annotations, and saving images for reports, tutorials, and documents. You can use those tools to bypass Snipping Tool Windows 11 not working and other problems too.
1. Lightshot - Quick Screenshot with Instant Sharing Features
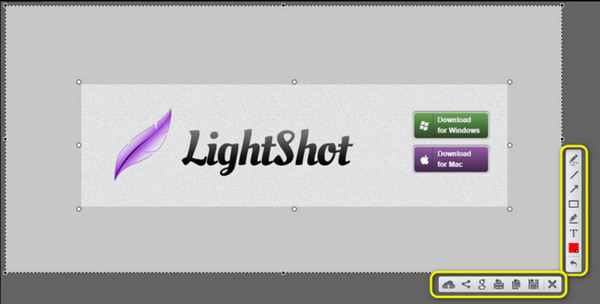
Lightshot is well-known for its simplicity and fast speed capture process, making it one of the most loved for use by those who need screenshots without complicated steps. With just a click, you can select any part of your screen, edit it with text and arrows, and save it locally. Additionally, this Windows Snipping Tool alternative allows you to upload it to its server and share a link quickly with others, making it especially useful for collaborative work.
2. Greenshot - Open-Source Tool with Powerful Annotation Options
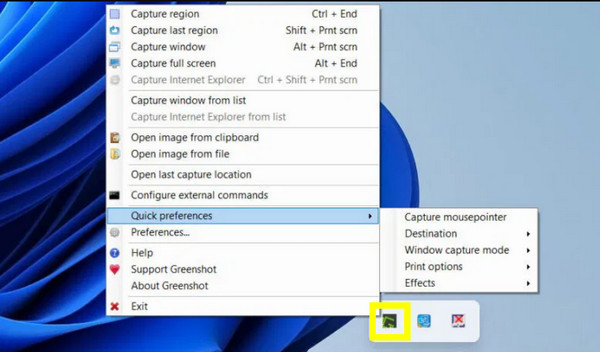
A widely trusted open-source screenshot tool for Windows, Greenshot is perfect if you want more control over your captures. This Windows 11 Snipping Tool replacement also has multiple capture modes like full-screen, active window, selected region, and even scrolling webpage. Once captured, you can use the built-in editor to annotate, highlight, or add text or shapes, and more! It works lightly and quietly in the background, so it will never slow down your system while working.
Conclusion
Whether you need your on-screen content in full-screen, a specific window, or a custom-selected area, the Snipping Tool on Windows 11 is an effective way to capture all these! Also, with the other built-in shortcuts, taking a screenshot has never been quicker, and their built-in editor lets you annotate, highlight, and add text. While the Snipping Tool is ideal for everyday tasks, you may want more advanced features. Try this dedicated AnyRec Screen Recorder. It is an excellent alternative to let you capture on-screen content and save it in various formats you like. It also comes with custom shortcuts, adjustable output settings, and a built-in editor, proving that it goes beyond the standard Windows 11 Snipping Tool.
Secure Download
Secure Download


