How to Crop Videos on Windows 10 [Beginner-Friendly]
Cropping videos is a practical way to remove unwanted areas, adjust framing, or optimize content for different platforms. Whether you want to focus on a specific subject or fit a video into a particular aspect ratio, knowing how to crop videos efficiently on Windows can be very useful. Fortunately, there are multiple tools available, ranging from professional software to built-in utilities and online solutions. In this guide, you will learn several beginner-friendly methods to crop videos on Windows 10 and other versions.
Guide List
A Powerful Tool to Crop Videos on Windows 10 with Creativity The Default Solution to Cropping Videos on Windows 10 How to Crop Videos on Windows 10 While Watching Adobe Premiere Pro: Crop Videos on Windows Like a Pro An Online Way to Crop Videos on Windows 10 for FreeA Powerful Tool to Crop Videos on Windows 10 with Creativity
If you are looking for a flexible and efficient way to crop videos, using a professional tool like AnyRec Video Converter is an excellent choice. It allows you to crop videos precisely by adjusting aspect ratios, trimming unwanted edges, and customizing output settings. With its intuitive interface and advanced editing features, you can easily create high-quality videos tailored to your needs.

Provide a professional tool to crop videos to any size on Windows 10/8/7.
Able to export the cropped videos to all the video formats, like MP4, AVI, etc.
Support many additional video editing tools to rotate, cut, and add filters.
Preset aspect ratio to make your videos fit different screens and devices.
Secure Download
Secure Download
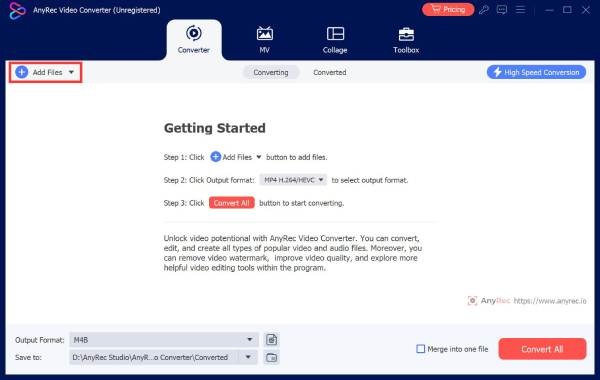
Step 1.Launch AnyRec Video Converter on your Windows computer and click the "Add Files" button to import your video.
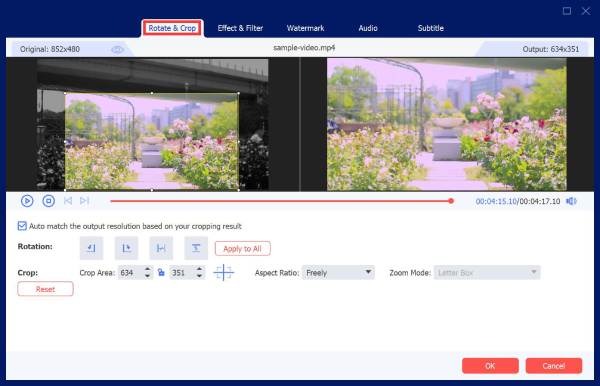
Step 2.Click the "Edit" button. Under the "Rotate & Crop" tab, adjust the area you want to crop or simply enter the parameters.
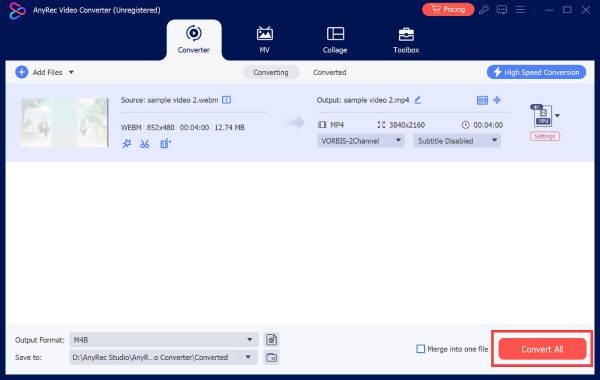
Step 3.You can click the "Format" button to select the output format. Once finished, click the "Convert All" button to save the cropped video on Windows.
The Default Solution to Cropping Videos on Windows 10
For users who prefer not to install additional software, PowerPoint can serve as a surprisingly useful built-in tool for basic video editing. Although it is primarily designed for presentations, it includes simple video formatting features such as cropping and resizing. This section will show how PowerPoint can be used as a convenient solution for quick video cropping tasks while creating slideshows.
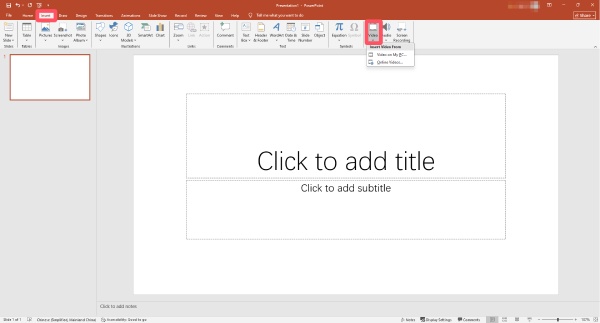
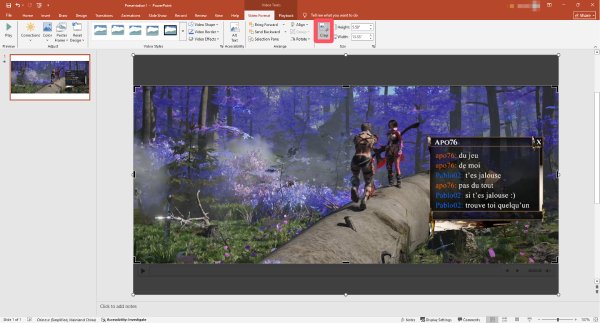
Step 1.Launch PowerPoint and click the "Video" button under the "Insert" tab to import the video for cropping on Windows 10.
Step 2.Under the "Video Format" tab, click the "Crop" button and adjust the area you want to crop on your video. Click the "File" button to proceed.
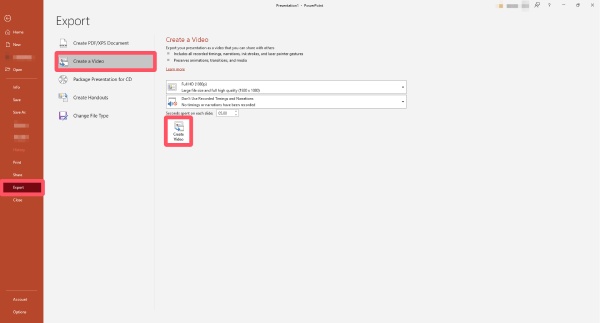
Step 3.Under the "Export" tab, click the "Create a Video" button. You can adjust the parameters here. Once finished, click the "Create Video" button.
How to Crop Videos on Windows 10 While Watching
If you want to crop videos during playback, VLC Media Player offers a practical solution. In addition to being a popular media player, VLC includes basic editing features that allow users to adjust the visible area of a video. This section introduces how to crop a video in VLC while watching it.
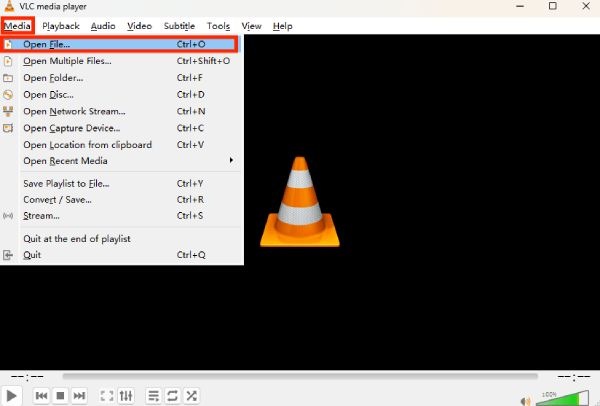
Step 1.Launch VLC media player and click the "Open File..." button under the "Media" tab to import the video you want to crop.
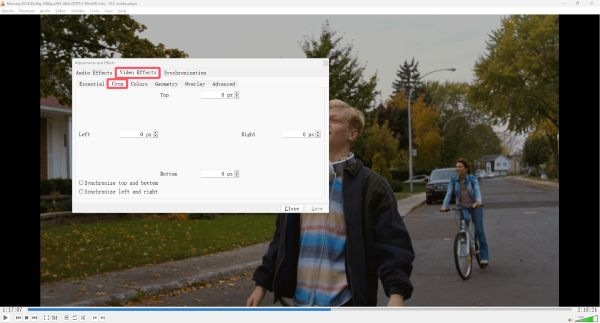
Step 2.Click the "Effects and Filters" button under the "Tools" tab to look for the tool for cropping the video on Windows 10.
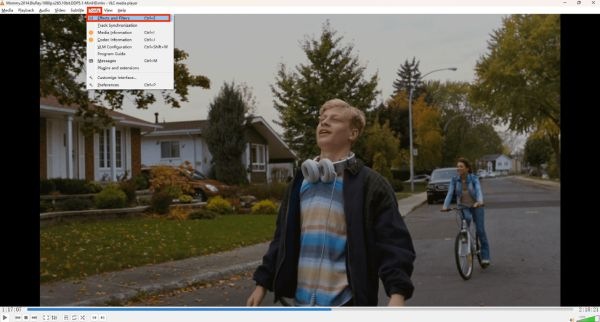
Step 3.Click the "Crop" button under the "Video Effects" tab to set the parameters for cropping the video. Finally, click the "Save" button.
Adobe Premiere Pro: Crop Videos on Windows Like a Pro
For users who need advanced editing capabilities, Adobe Premiere Pro provides professional-grade tools for video cropping. While it involves some complex operations, you will find it so precise once you know how to start. With its powerful timeline editing and effects controls, you can fine-tune every detail of your video. This section introduces how Premiere Pro can help you achieve high-quality cropping results.
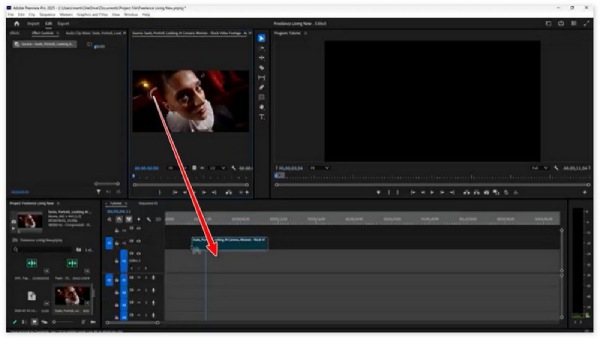
Step 1.Launch Adobe Premiere Pro and create a new project. Click to drag the video to the timeline.
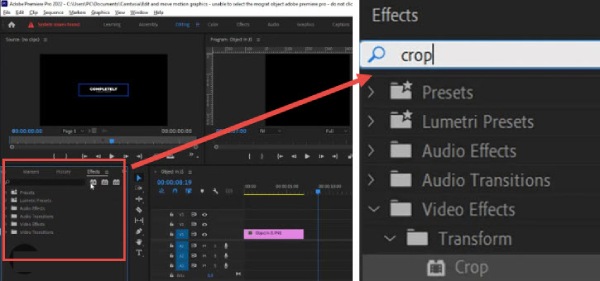
Step 2.Under the "Effects" tab, find and click the "Crop" button. Then, you will see a window pop up.
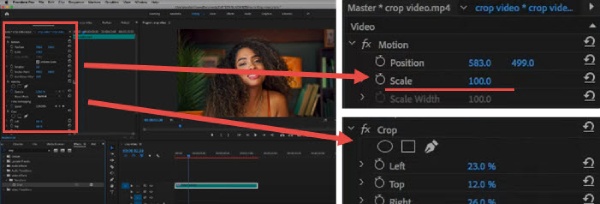
Step 3.Now, you can adjust the detailed parameters to crop the video on Windows precisely.
An Online Way to Crop Videos on Windows 10 for Free
If you prefer a quick and installation-free solution, online tools like Ezgif offer a convenient way to crop videos directly in your browser. These web-based platforms allow you to upload your video, adjust the cropping area, and export the result easily. This section explains how to use Ezgif for fast and simple video cropping.
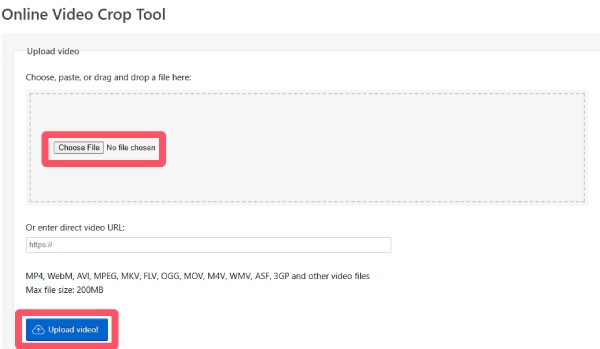
Step 1.Navigate to the official website of Ezgif. Click the "Choose File" button and select the video file. Click the "Upload video!" button to proceed.
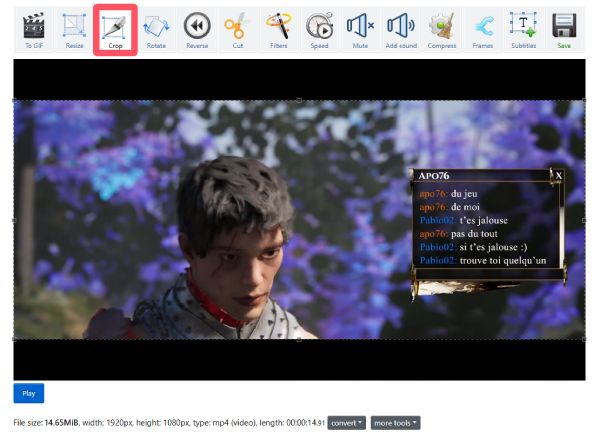
Step 2.Under the "Crop" tab, click to select the area you want to crop directly. The tool will crop the video on Windows for you automatically.
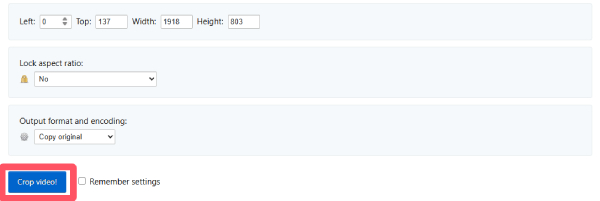
Step 3.Once finished, you can check the detailed parameters below. If everything is fine, click the "Crop video!" button.
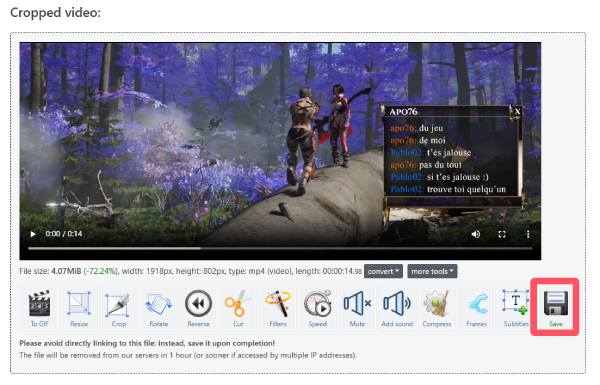
Step 4.After waiting for a while, you can see the cropped video. If you're satisfied with the output video, click the "Save" button.
Conclusion
In conclusion, there are multiple ways to crop videos on Windows 10, depending on your needs and experience level. While most of these tools have their innate drawbacks, AnyRec Video Converter can efficiently crop videos and improve their overall presentation.
Secure Download
Secure Download
About Our Author


