[Top 4 Ways] How to Save Voicemails from iPhone to Computer?
“How do you save voicemails from an iPhone to computer?” Are you looking for a guide that can teach you how to do that? Well, if you are, you probably want to back up the voicemails that are important to you or use them for legal purposes. Well, whatever the reason is, saving voicemails from an iPhone to a computer is easy, and this post can teach you! Here, you get to explore four workable guides to transfer voicemails from iPhone to computer. Get to know them below!
Guide List
Easiest Way to Transfer All Voicemails from iPhone to Computer How to Save Voicemails from iPhone to Computer via iCloud Steps to Share Voicemail from iPhone to Computer with AirDrop Use Email to Transfer and Save Voicemails from iPhone to ComputerEasiest Way to Transfer All Voicemails from iPhone to Computer
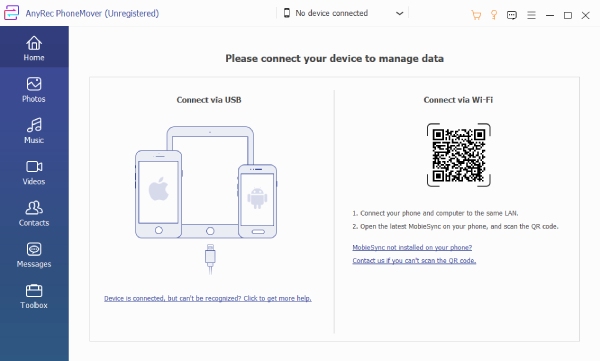
If you are searching for the easiest way to move voicemails to a computer from iPhone, then continue reading this section, as it features the professional AnyRec PhoneMover. This desktop-based tool enables the transfer of all types of data, including voicemails, with just a few clicks. It thoroughly scans your iPhone for all voicemails stored on it, previews them for you, and allows you to choose which ones to transfer or not. In that way, you can selectively choose the ones that matter to you. Additionally, it also allows you to choose which folder your voicemails will be stored in on your computer for easy access.

Allows you to preview voicemails before moving them to avoid saving or transfer errors.
Lets you transfer or save voicemails from your iPhone to a computer without internet.
Transfer iPhone voicemails to a computer without a factory reset.
It can scan, skip, delete, and merge duplicated data, like voicemails, and more.
Secure Download
Step 1.Install the AnyRec PhoneMover on your computer and launch it afterward. Next, connect your iPhone to your PC via the iPhone’s charging USB cable.
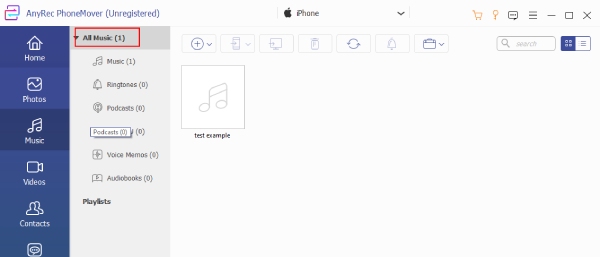
Step 2.After that, click the “Music” tab on the left side to initiate the scanning process. Once done, the tool will preview all the audio files, including the voicemails stored on your iPhone.
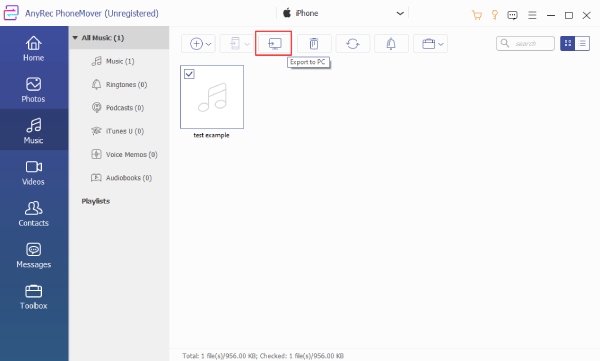
Step 3.Then, select all the voicemails you wish to transfer to your computer. After that, click the “Export to PC” button at the top, select a file destination if needed, and confirm your choice.
Secure Download
How to Save Voicemails from iPhone to Computer via iCloud
Aside from the first featured way, another option you can use to transfer iPhone voice messages is iCloud. One of the best ways to do this is to save them to iCloud Drive and then download them to your computer. Accessing your iCloud Drive via a browser on another device allows you to easily save or transfer the voicemails that initially came from your iPhone. However, this method will only work if you manually save each voicemail one by one and make sure your iCloud Drive has available space and a steady internet connection. Here’s how to do it:
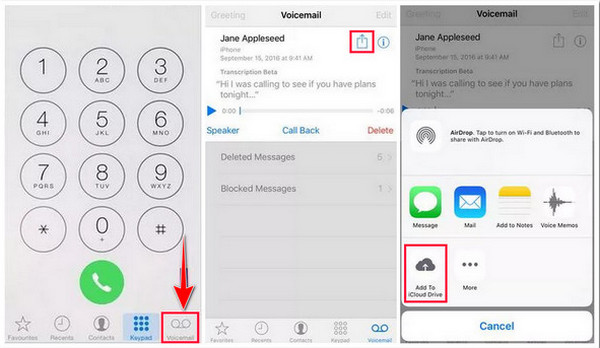
Step 1.On your iPhone, head to the “Phone” app and tap the “Voicemail” tab. Then, select the voicemail you wish to save and tap the “Share” icon.
Step 2.Next, from the sharing options, choose “Add to iCloud Drive” to begin saving the voicemail to your iCloud storage. Then, wait for the upload to complete.
Step 3.Once done, head to your computer, visit iCloud’s official website, and sign in using the same Apple ID.
Step 4.Go to iCloud Drive, locate your uploaded voicemail, and download or save it to your computer. And that’s the steps to save multiple voicemails from iPhone to computer via iCloud.
Steps to Share Voicemail from iPhone to Computer with AirDrop
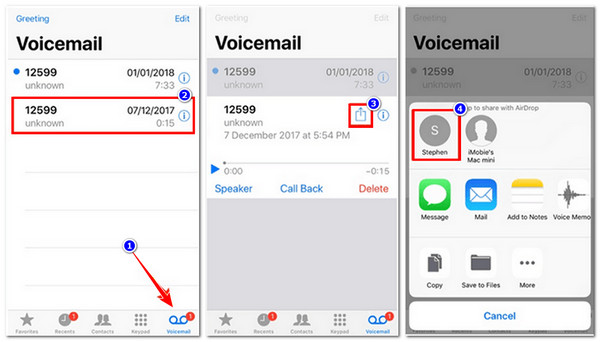
You can also transfer voicemail messages to new iPhone or computer using AirDrop. This method allows you to quickly transfer a voicemail wirelessly to your Mac without needing cables or third-party apps. Just make sure that both your iPhone and Mac have Bluetooth and Wi-Fi turned on, and that AirDrop is set to receive files from your contacts or everyone nearby. However, this method only works between Apple devices. So, how do you save voicemails from an iPhone to computer via AirDrop? Here’s how to do it:
Step 1.On your iPhone, open the “Phone” app and go to the “Voicemail” tab. Choose the voicemail you want to share, then tap the “Share” icon.
Step 2.From the list of options, tap “AirDrop”. A list of nearby AirDrop-enabled devices will appear.
Step 3.Choose your Mac from the list to begin the move/transfer. Once the file is received on your Mac, you can open it from the “Downloads” folder and play or store it as needed.
Use Email to Transfer and Save Voicemails from iPhone to Computer
The last guide to send iPhone voicemails to your computer is via Email. This method is perfect if you want to send a voicemail to yourself or share it with someone else without using cloud storage or other tools. It only takes a few steps and works on any device with email access. However, this method can be time-consuming if you plan to send multiple voicemails.
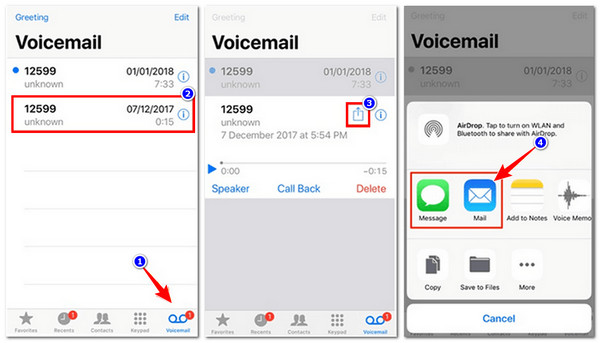
Step 1.On your iPhone, open the “Phone” app and navigate to the “Voicemail” tab. Choose the voicemail you wish to save and tap the “Share” icon.
Step 2.From the sharing options, select your preferred “Mail” app. A new email window will show up with the voicemail automatically attached as an audio file.
Step 3.Enter your email address in the “To” field and tap “Send”. After sending, open your email on your computer, download the attached voicemail file, and save it to your desired folder.
Conclusion
So, if you are roaming around the internet looking for an answer to save or backup voicemails from an iPhone to computer, you can try all of the default methods mentioned in this post! Through them, you can easily and effectively save or transfer all the voicemails on your iPhone to your computer. However, if you are looking for the easiest way to save them to your computer, then use AnyRec PhoneMover! With this tool’s simple yet effective file transfer capability, you can definitely achieve your goal of saving voicemails to your computer.
Secure Download


